
Email template node overview

This guide shows how to use one of your Email templates inside an Action. If templates, Actions, or Action builder are unfamiliar, read Email templates, Actions basics, and Action builder first. The Use Email Template node merges values into a saved HTML template and exposes subject and body outputs to whatever you connect downstream—typically a Send Email node (or similarly named) so the templated HTML becomes the outbound message body. Assume you already authored something like these blocks and variables:
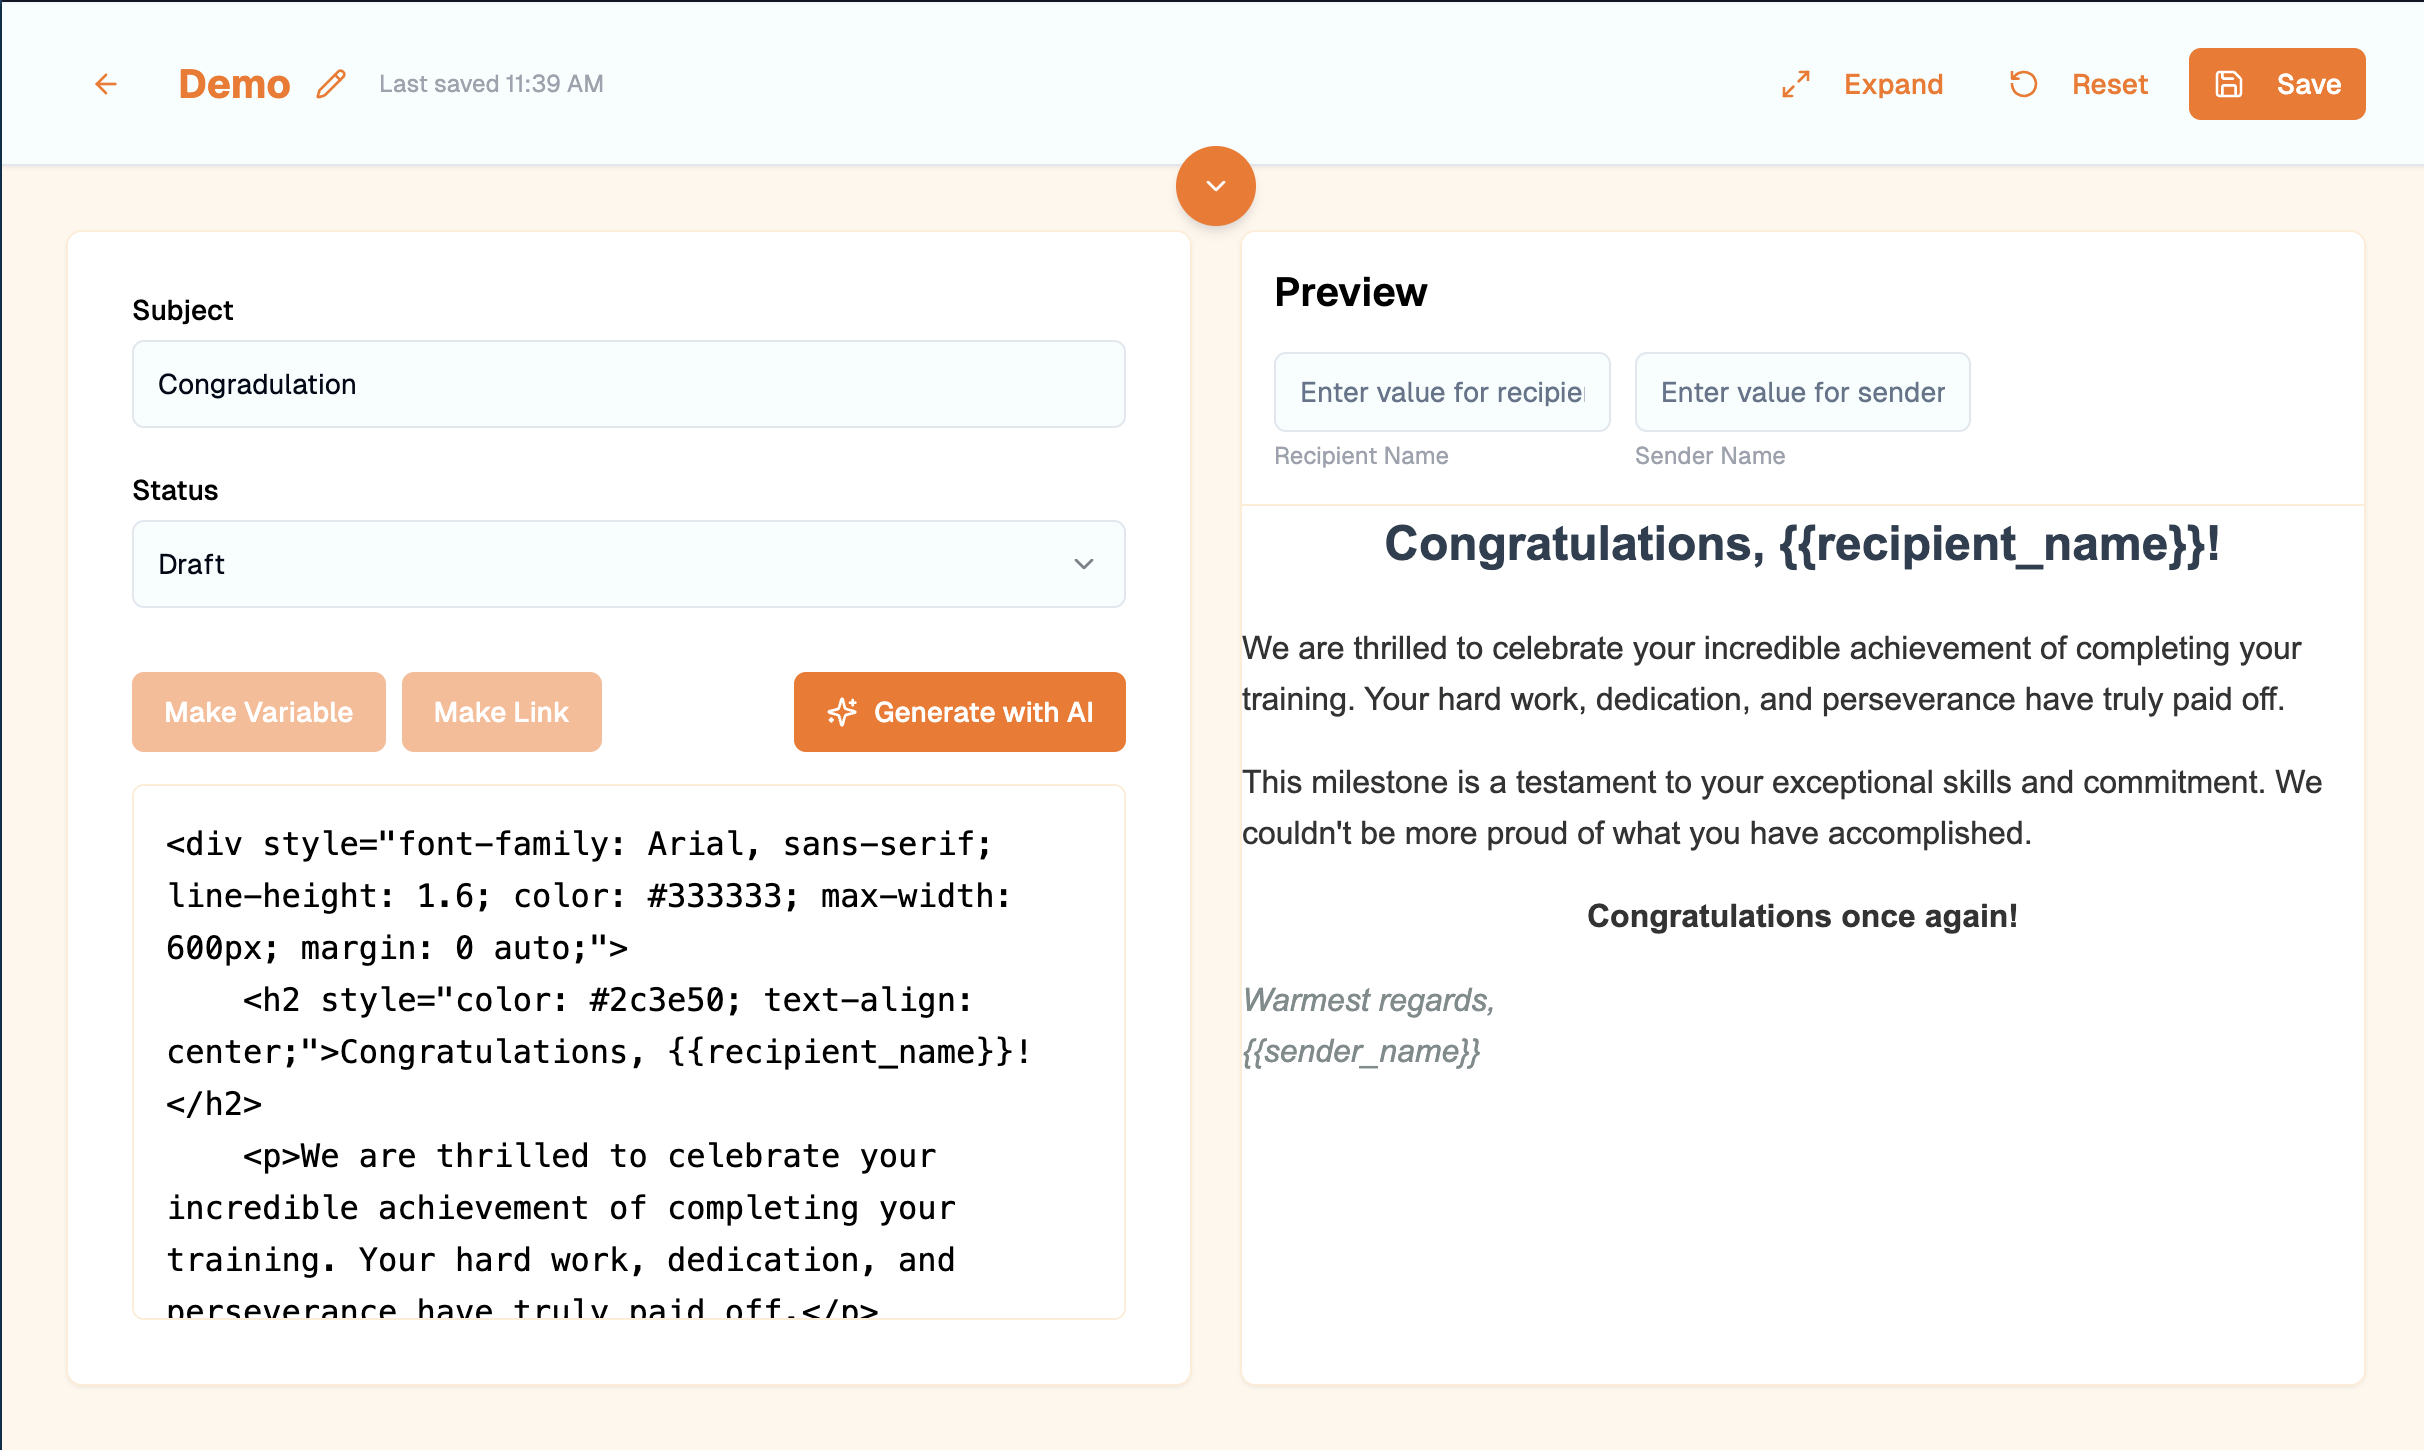
Demo Email template editor
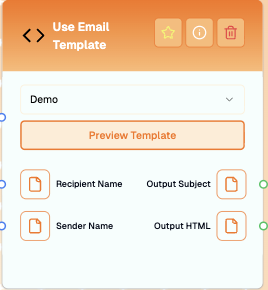
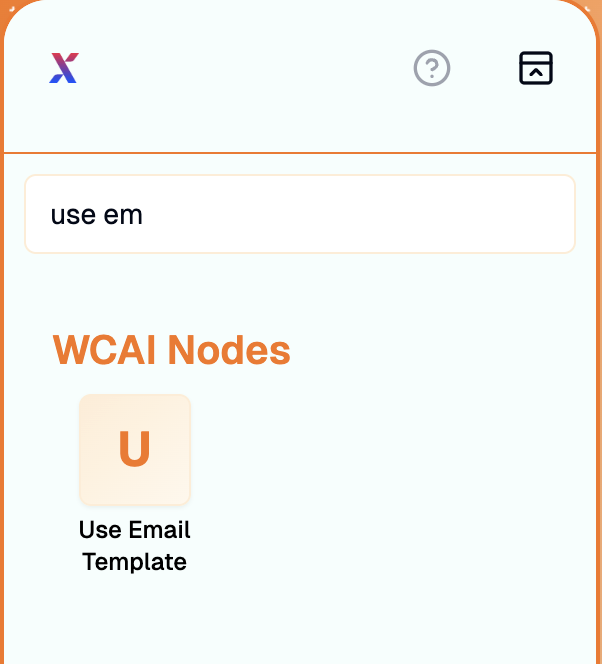
Add Use Email Template from the node catalog, choose your template from the inspector dropdown at the top, and inspect the surfaced inputs—in this demo the preset is titled Demo.
Use Email Template node selected
When the Email template declares variables, matching inputs appear on the node so you can wire upstream payloads into each slot—for Demo, that surface shows Recipient Name and Sender Name.
Email template node wired for Demo template variables
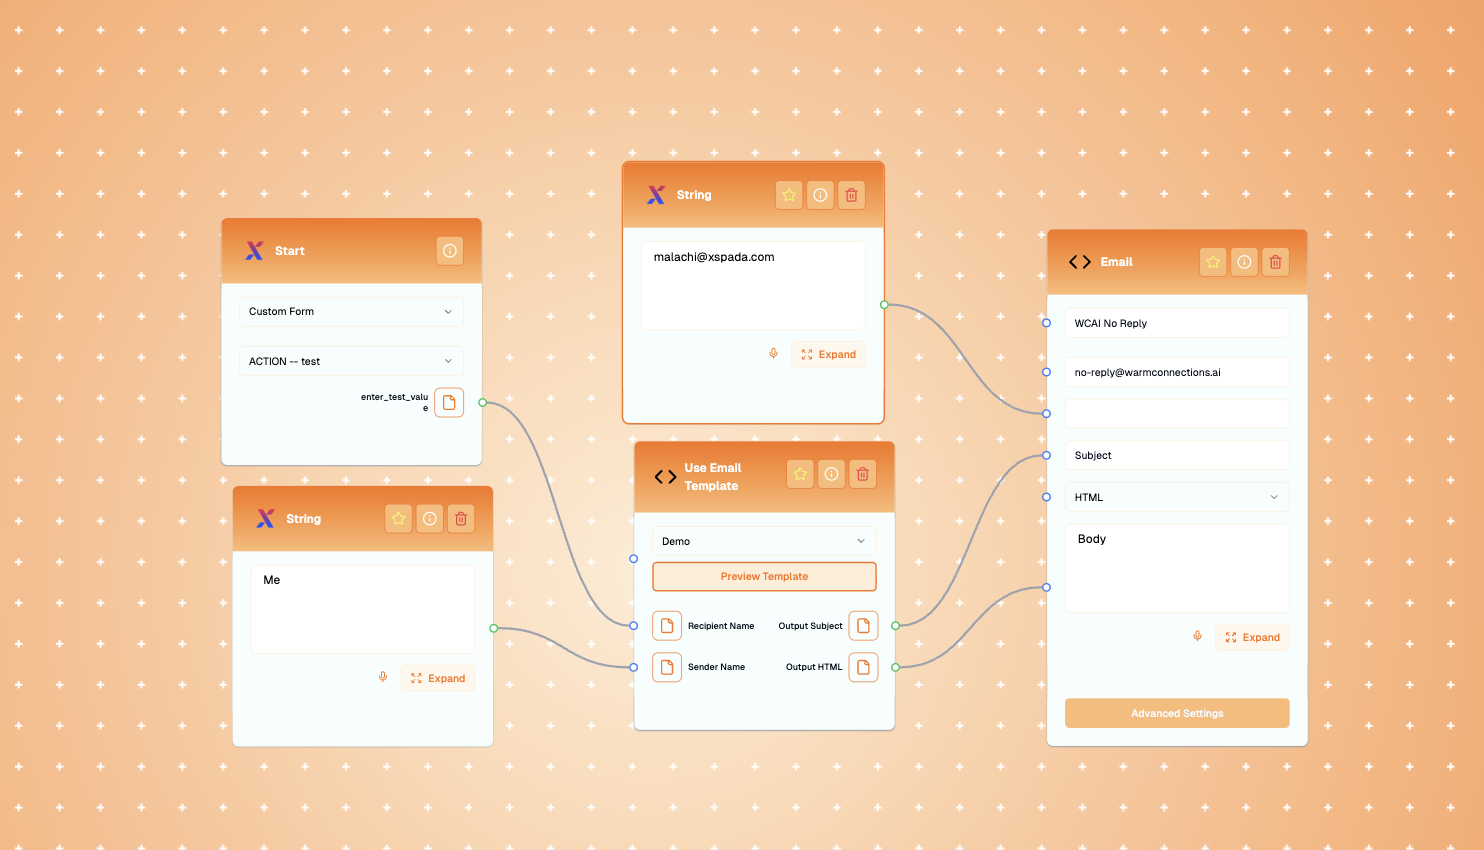
Populate those sockets from whichever upstream outputs you need, then place the template node before whichever delivery node sends the email. Wire Output Subject to the email node’s Subject input and Output HTML to Body. On the downstream email node itself, set styling so Body uses HTML instead of plain text. Verify Send Email targets the actual mailbox you intend—defaults sometimes route to placeholder XSpada teammate addresses until you intentionally replace them during testing. Together the scaffold looks similar to:
Demo Action with Use Email Template feeding Send Email node
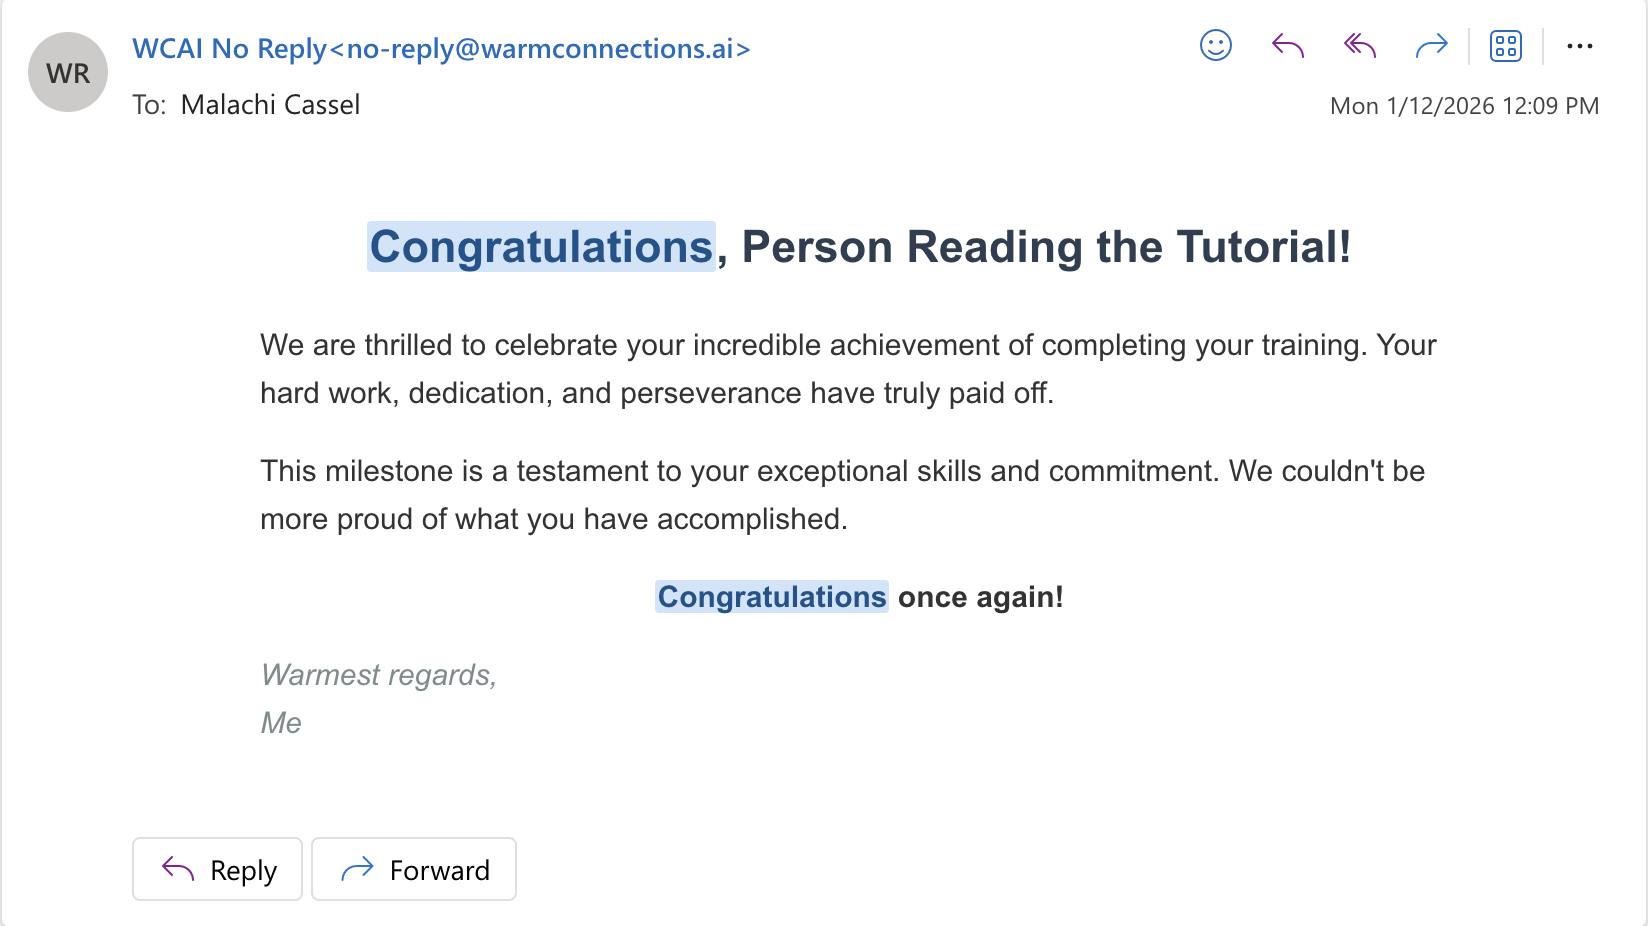
Running a synthetic test—for example by plugging a literal recipient name into the template inputs—shows the personalization inline:
Inbox screenshot using Demo template output
If you would like something unique to your business or have a unique issue, use XSpada Evolve or ask a XSpada rep.