
How to use Action builder

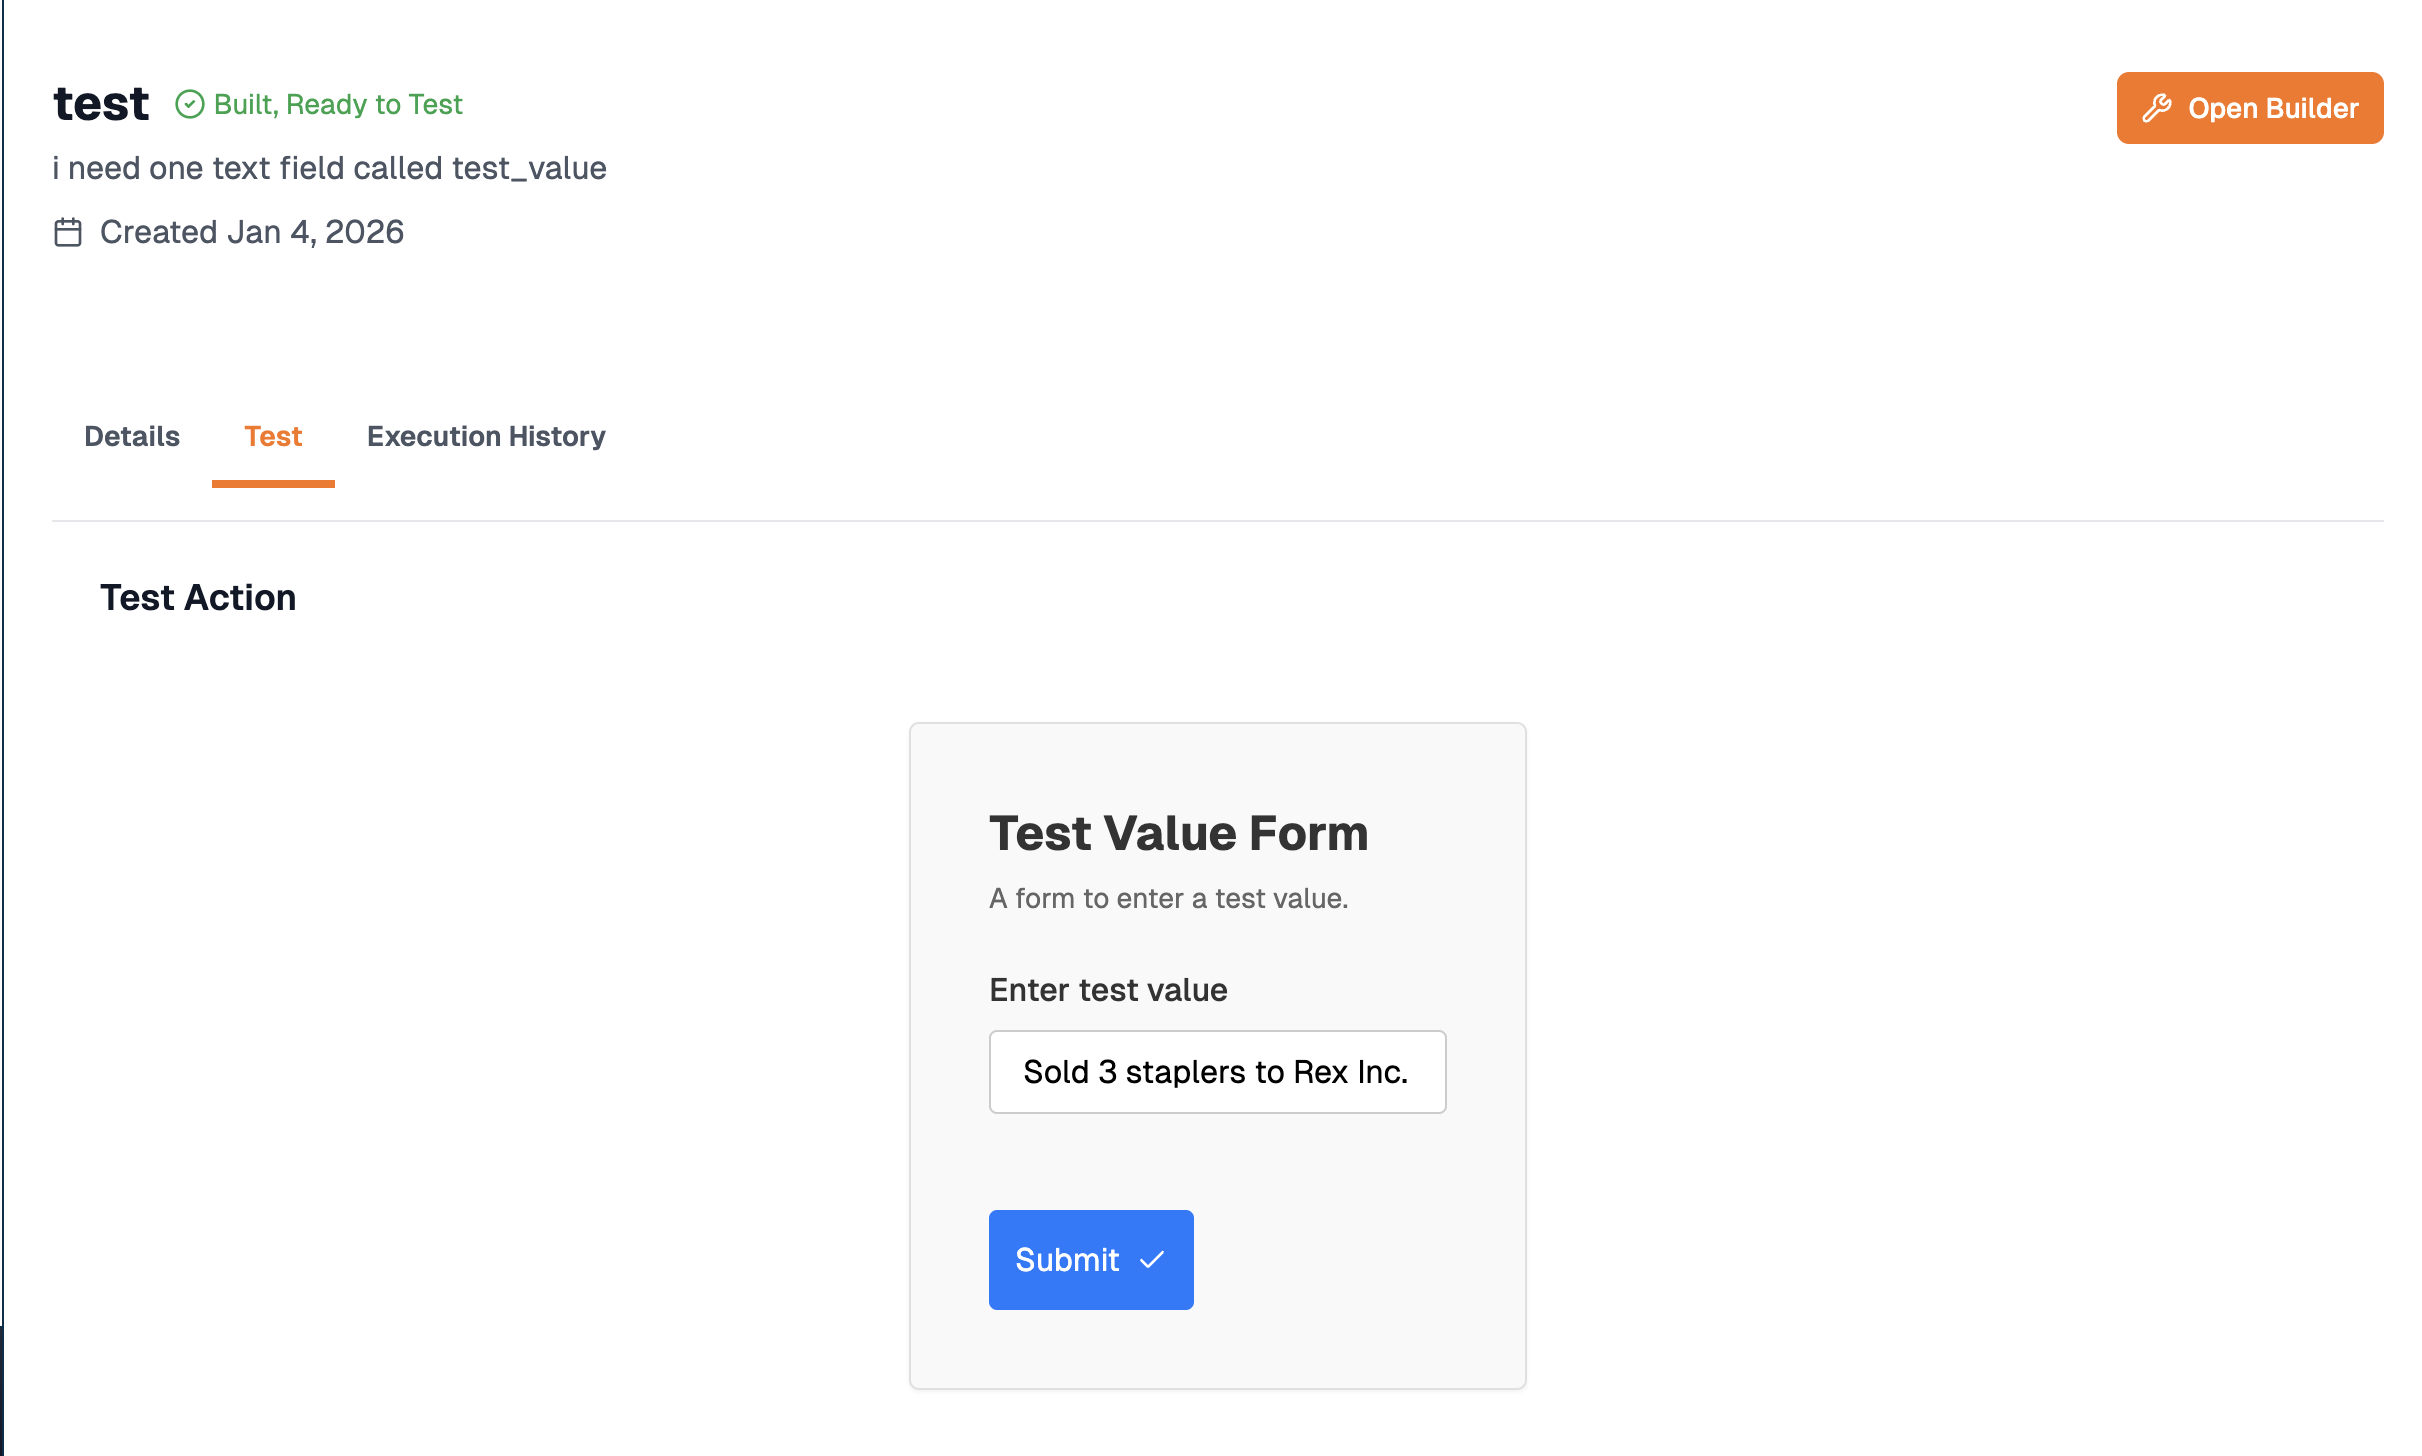
The pipeline you design in Action builder defines what each Action actually does. If Actions, Form workflows, or starter nodes are still new, skim Actions basics first—this guide assumes you are familiar with them. Creating an Action lands you on Action builder when you finish the setup flow. Editing an existing Action opens the canvas from the list—select that Action and click Open builder—the shortcut second from the left in its row controls (the tutorial labels this Open Builder). Below is Action builder right after you onboard a brand‑new (empty) graph.
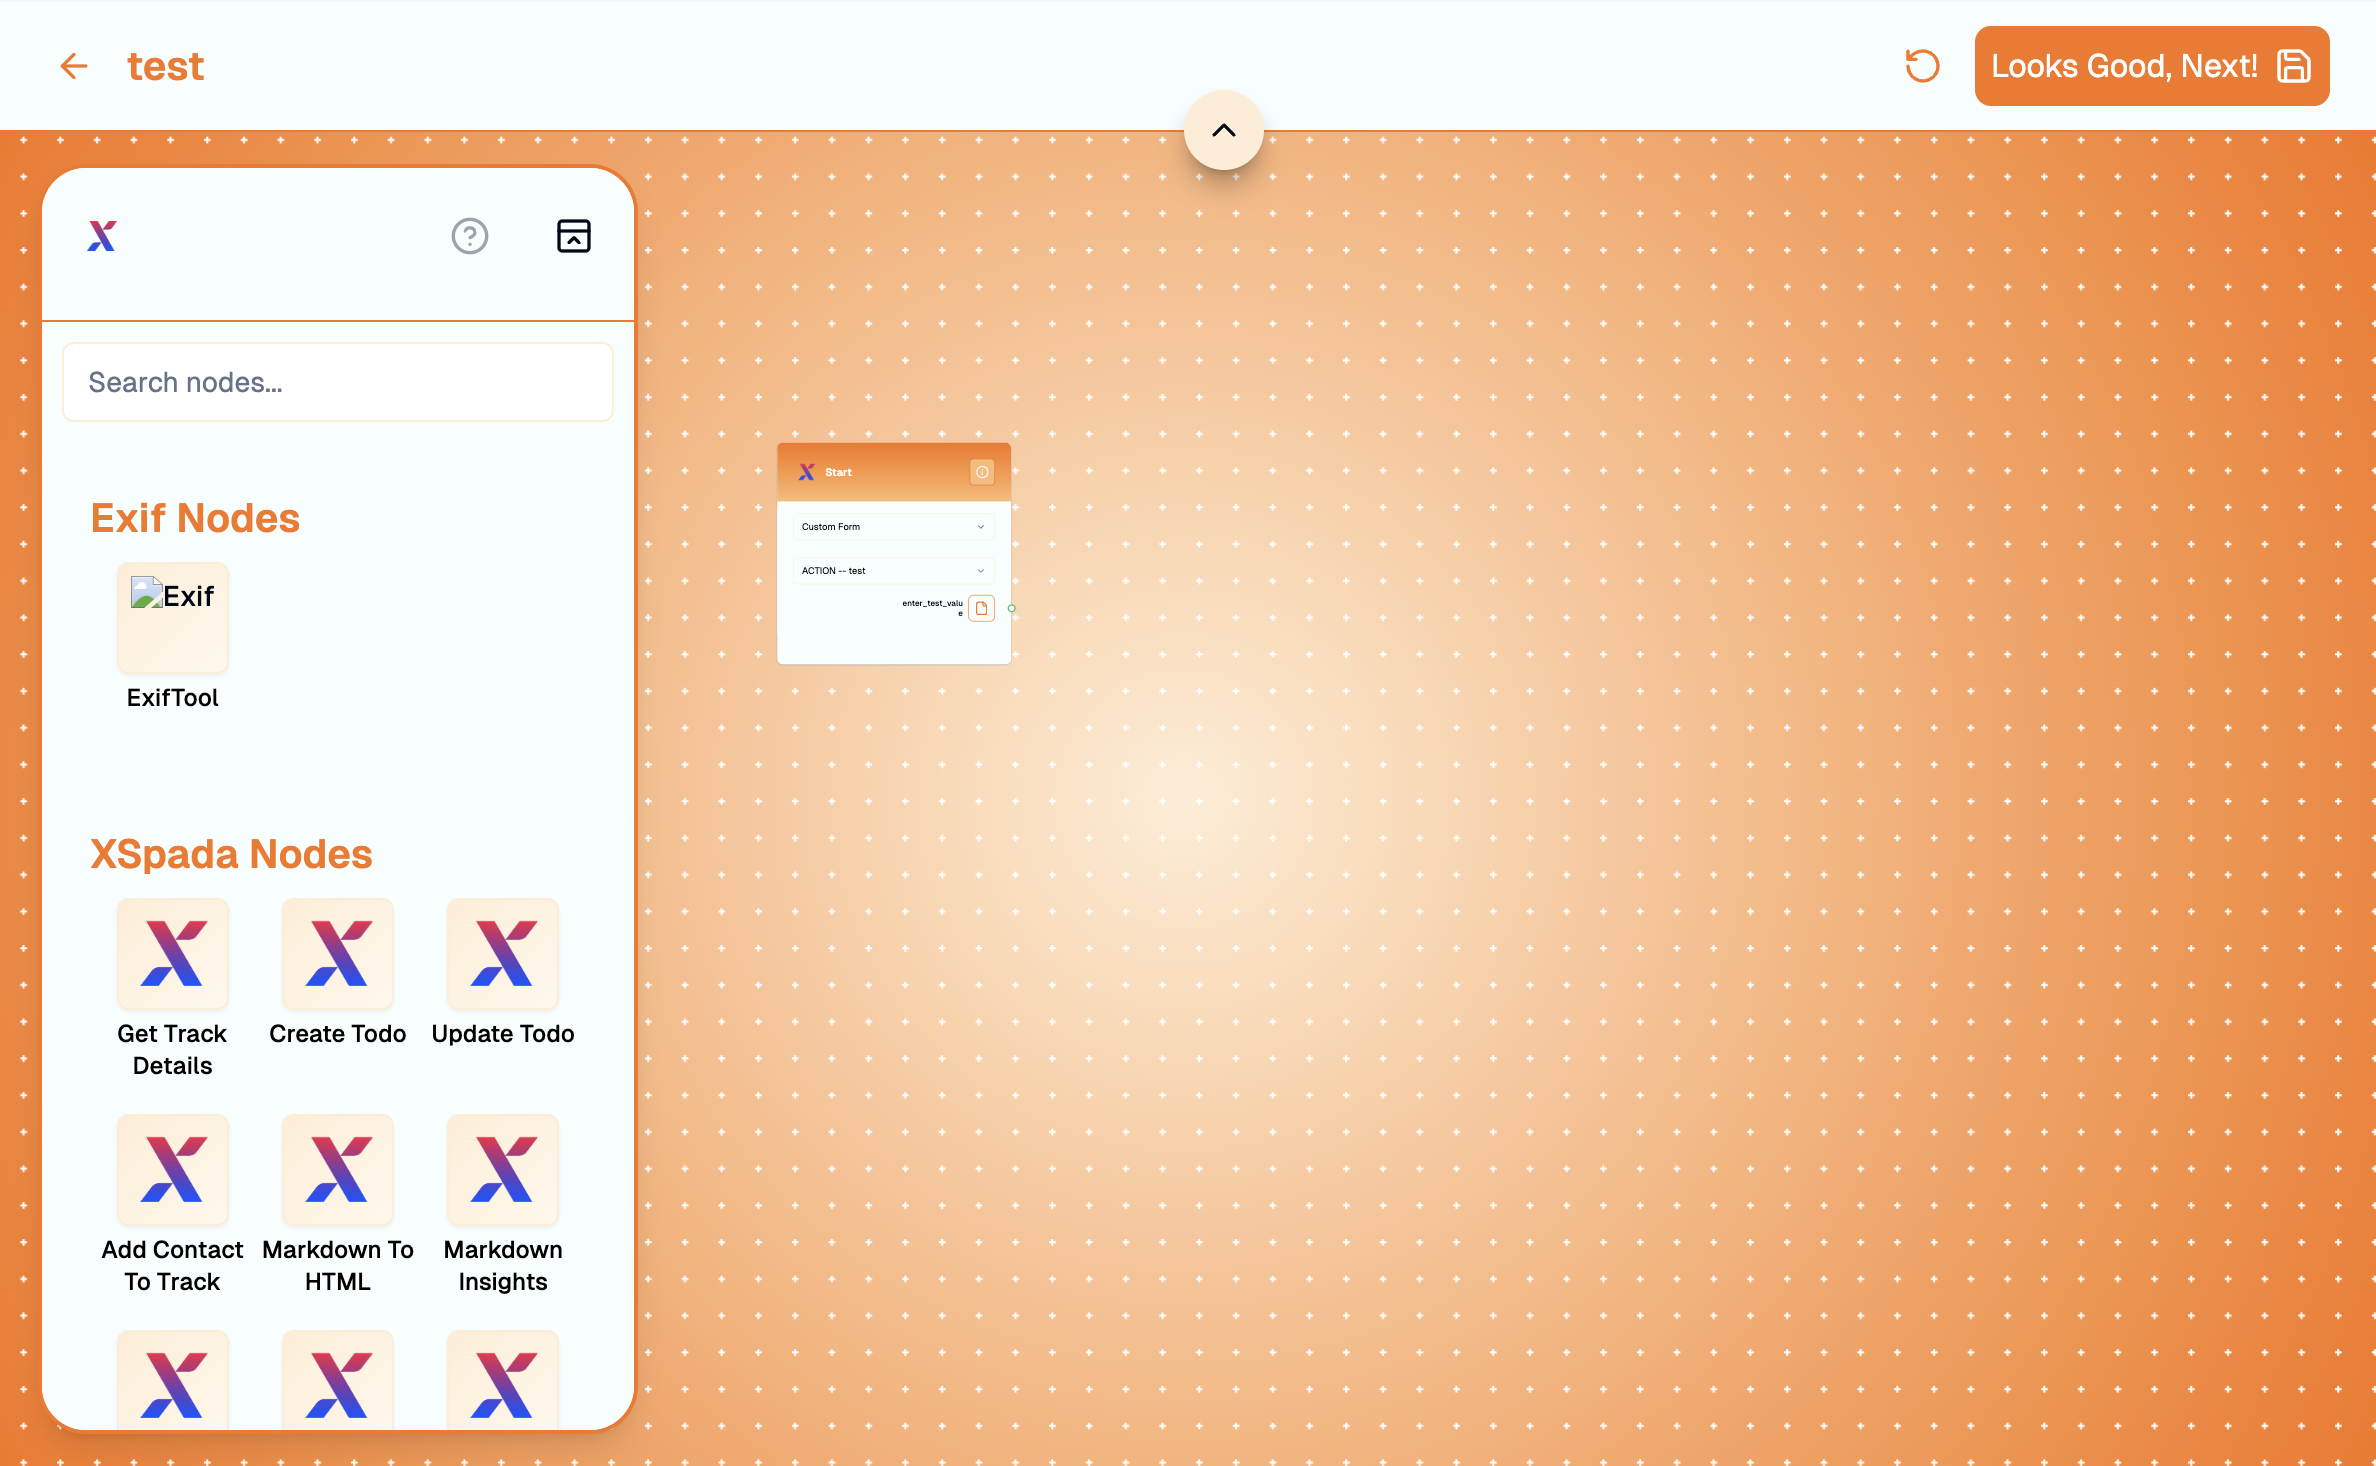
Empty Action builder page
This canvas is where you stitch nodes into a runnable sequence. Focus first on Start:
  • Every Action includes exactly one Start node.
  • It exposes outputs only—whatever your Action consumes at invocation time originates here.
  • For Form Actions, outputs mirror whatever you authored in component builder (Action types).
  • For milestone triggers, Start emits the member ID tied to whoever fired the milestone and the track instance context that fired it.
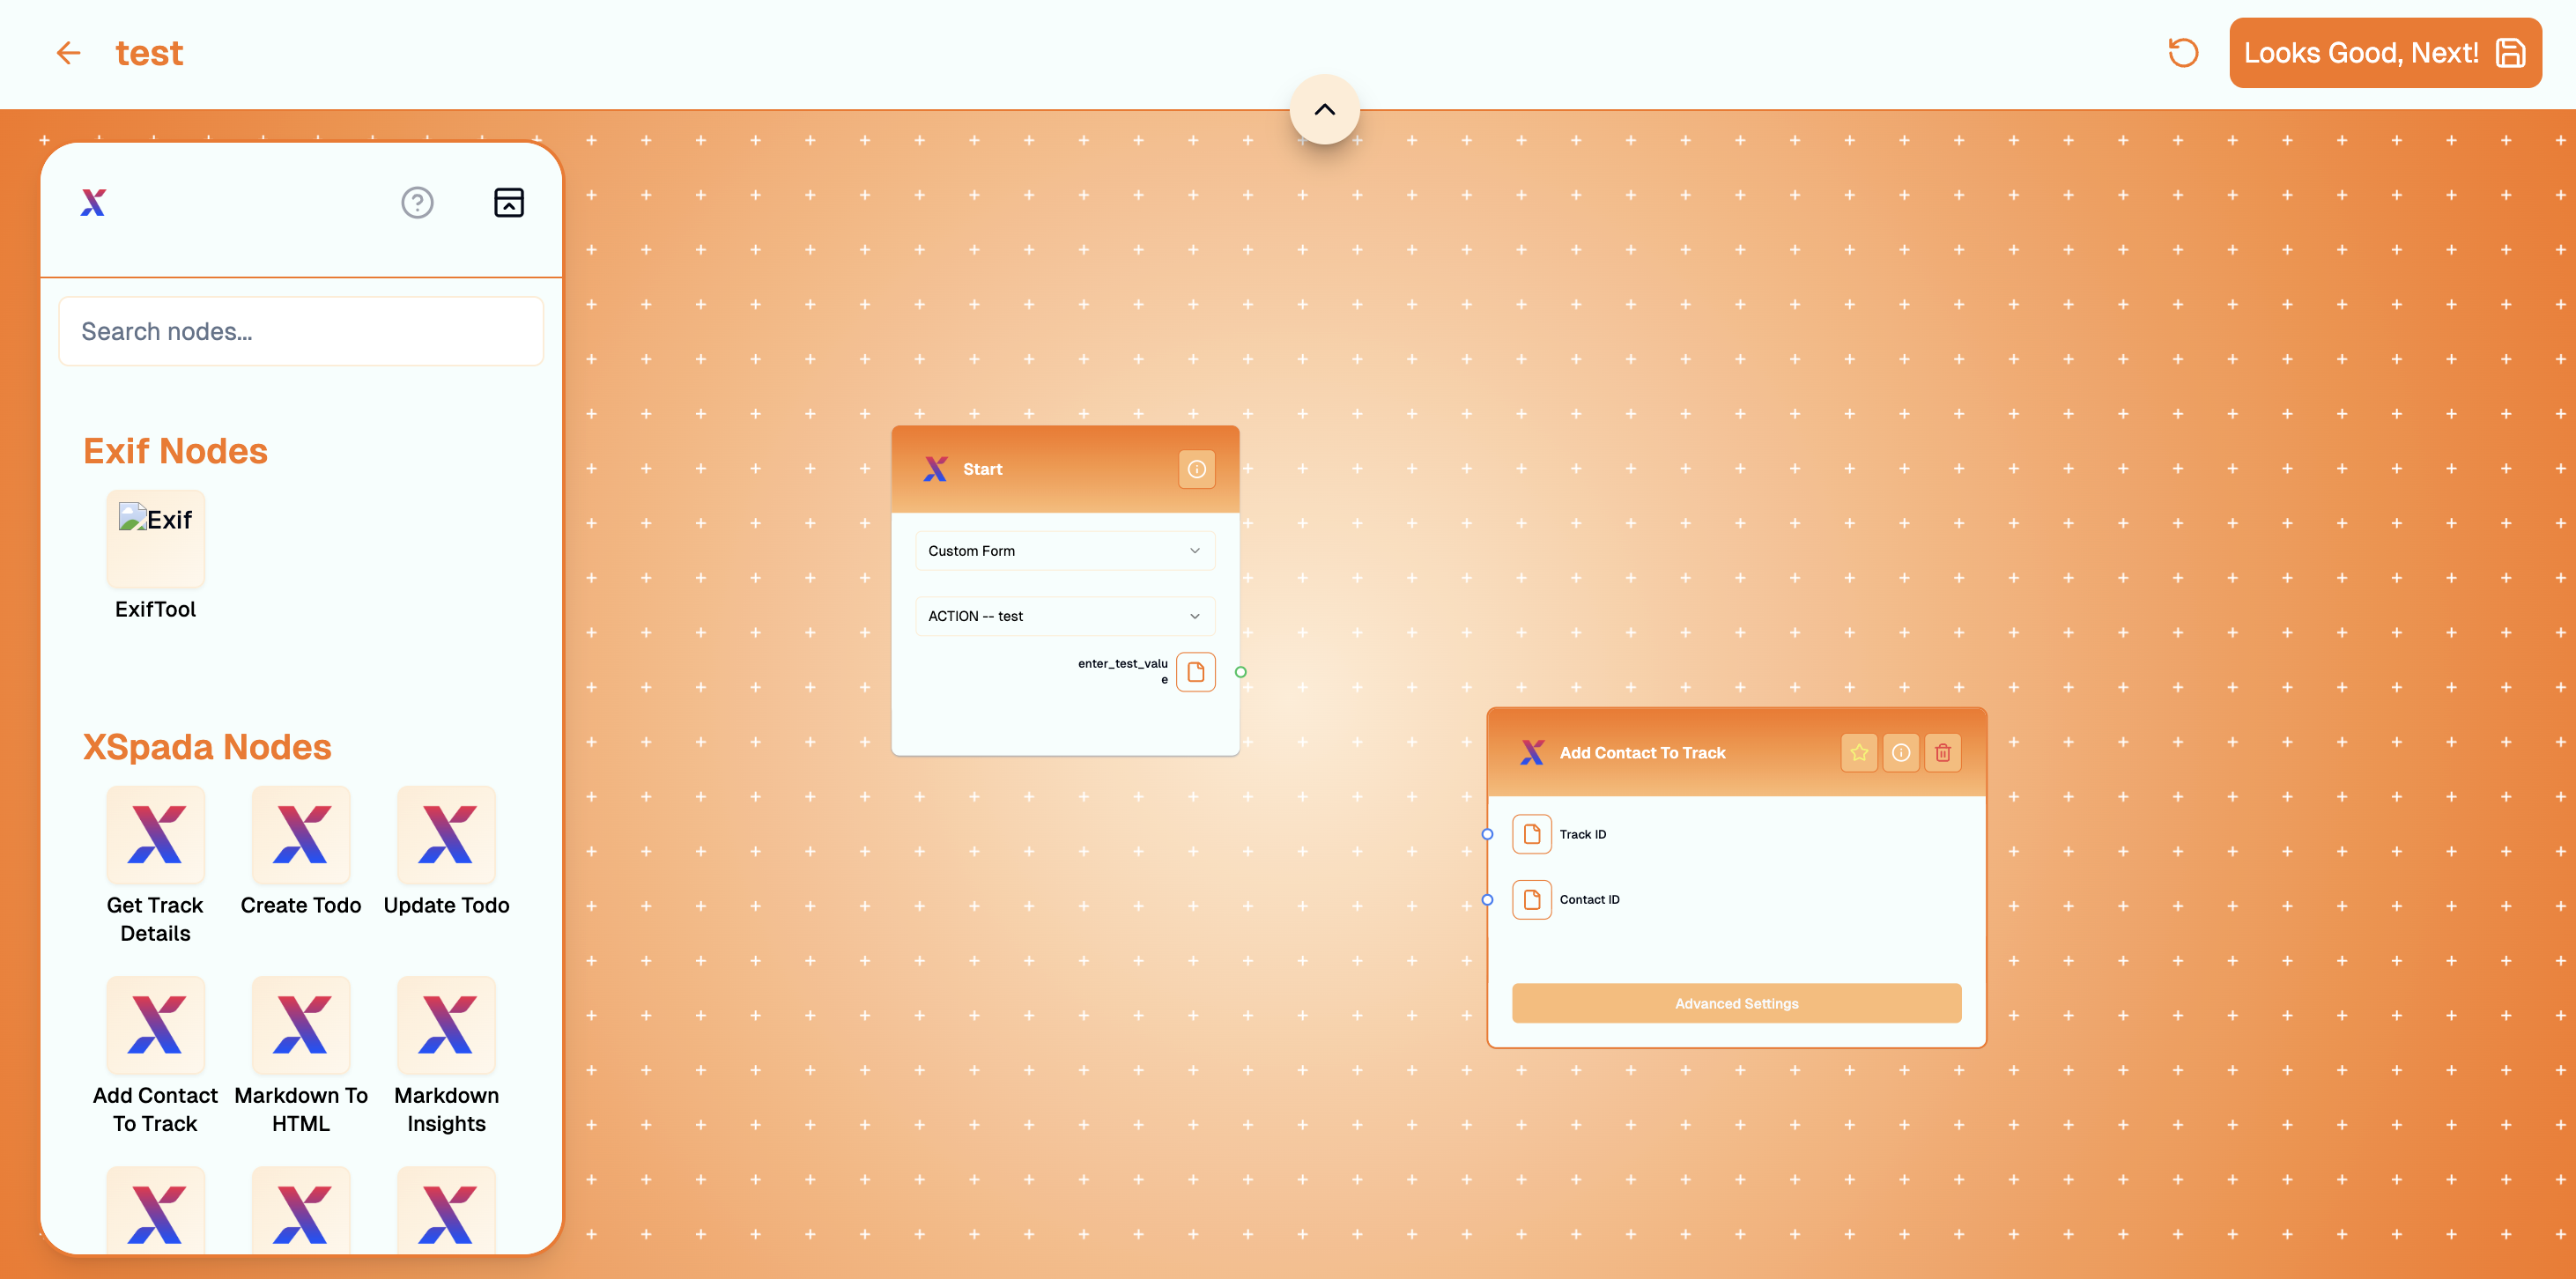
You progress by stacking nodes—each reusable tool exposes inputs, outputs (or both), and an implementation that runs whenever execution reaches it. Walk the graph sequentially from Start: each downstream node consumes what earlier nodes—or Start—supply. Browse the catalog on the left. Selecting a preset adds its node onto the canvas. Below, the canvas picks up Add Contact to Track on an otherwise untouched graph:
Action builder after adding a node
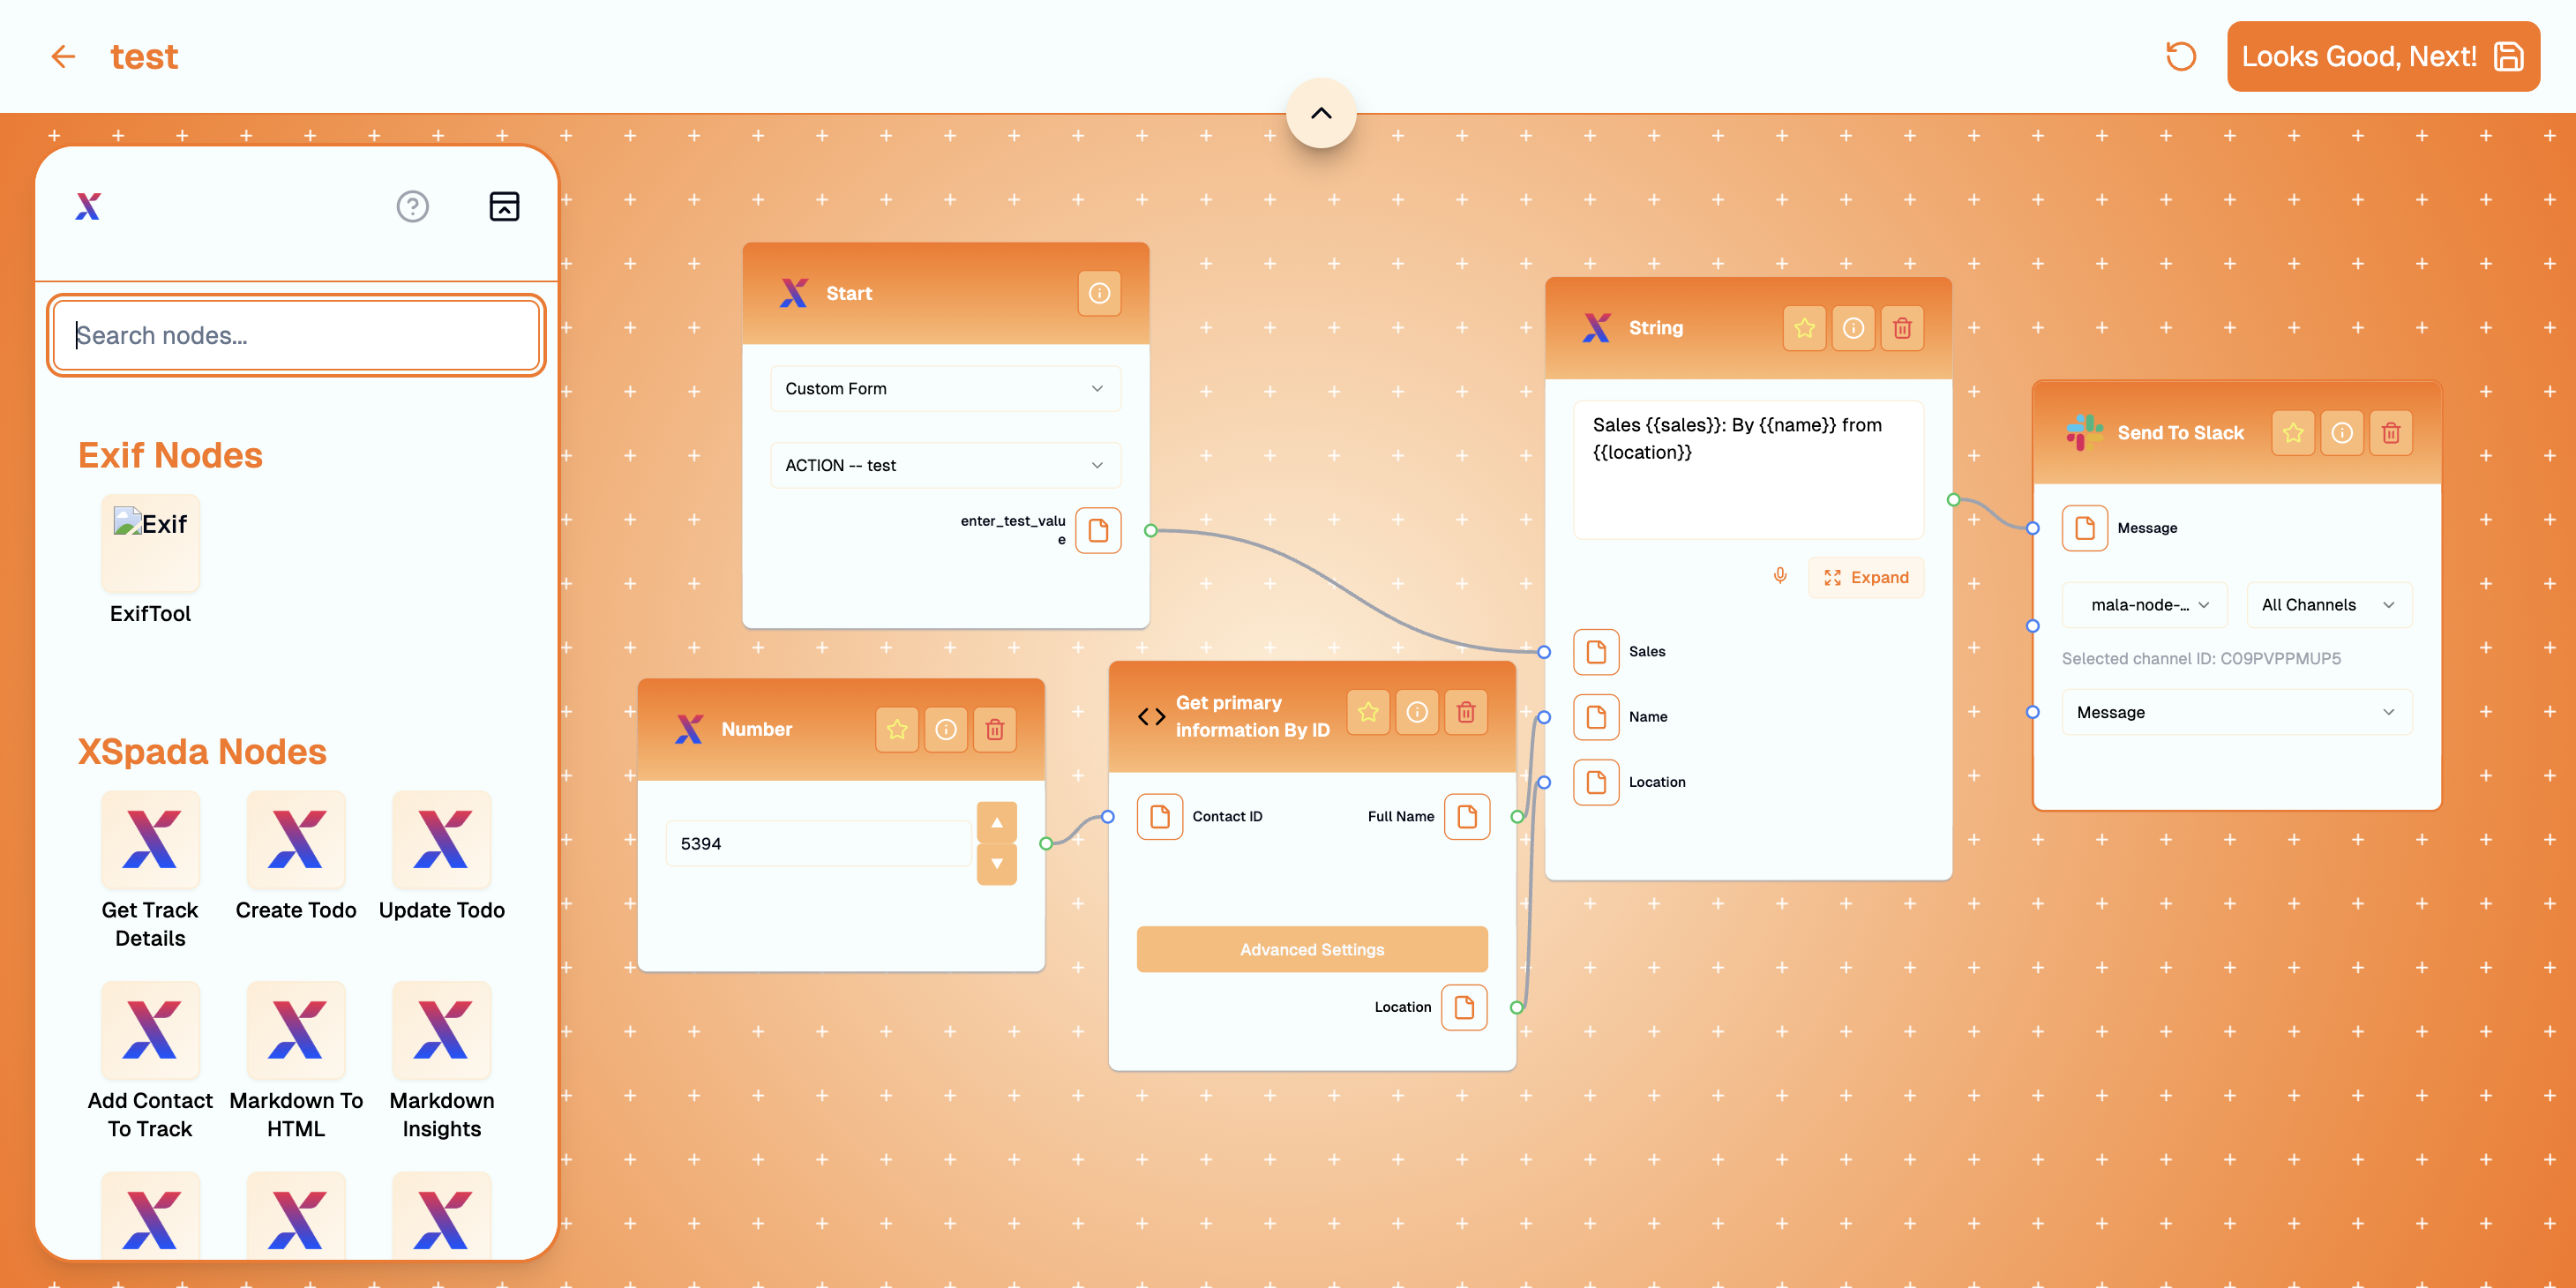
Each node surface shows three shortcuts in its header: learn more about the preset, bookmark it into favorites, or remove it outright if plans change later. Pull a connection from Start by clicking the small socket beside an output label and dragging to the matching input on the next node. When the Action runs, the payload you invoked it with arrives at Start first and flows downstream in that order—for example wiring Start’s outgoing contact ID socket into Add Contact to Track’s incoming contact ID field assigns that contact ID to whichever Track you select in configuration. Unlike Add Contact to Track, some nodes expose both inputs and outputs so you can reuse data they synthesize farther down the canvas. As a teaching example—imagine alerting Slack whenever a sale is logged and you still want richer copy with the buyer’s primary profile fields—you could orchestrate lookups, merge strings with a formatter node, and finally invoke Slack:
Example Action with multiple nodes wired together
The tutorial routes the initiating contact id through something like Get primary info, combines Start fields plus lookup outputs inside something like String (depending on catalog naming), then hands the finalized message body to Slack so every invocation posts the channel ping that you modeled. Closer views of wiring for that illustrative graph:
Action builder wiring demo — part 1
Action builder wiring demo — part 2
If you would like something unique to your business or have a unique issue, use XSpada Evolve or ask a XSpada rep.