
Welcome

Email Template helps you build polished, reusable layouts for outbound mail. Strong structure and consistent branding make it easier for readers to scan, trust, and act on your message.

What you can do

  • Create templates that match your voice and visual identity.
  • Reuse blocks and patterns so every send feels intentional, not rushed.

Email template overview

Open Email Templates in the left sidebar.

Initial setup

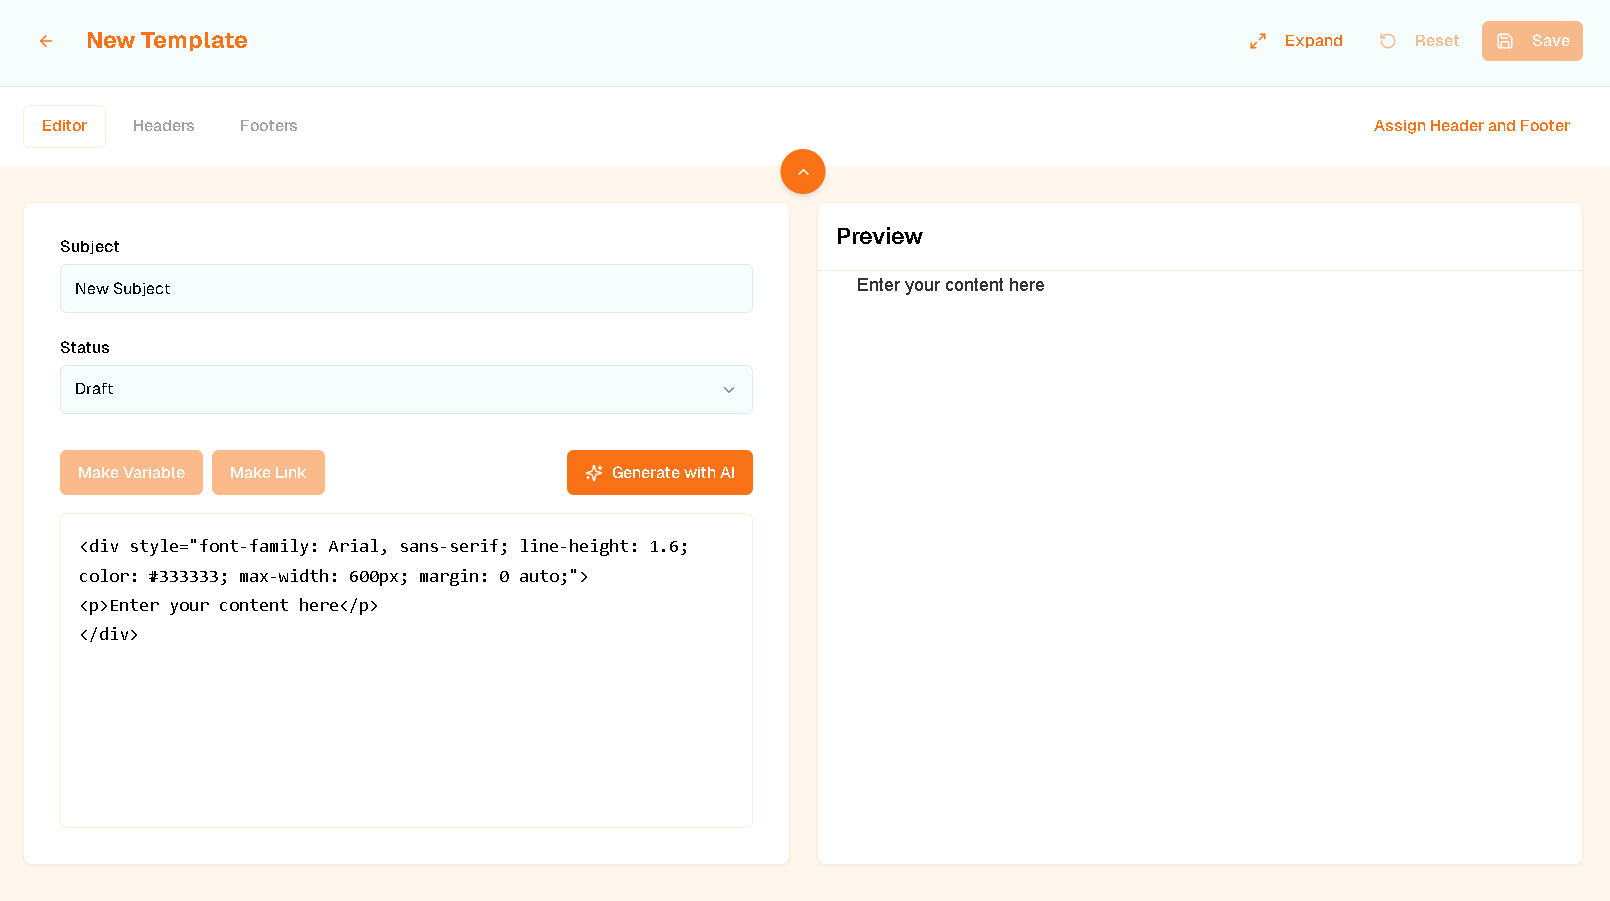
To add a template, click Create New Template in the upper-right corner. You land on the editor:
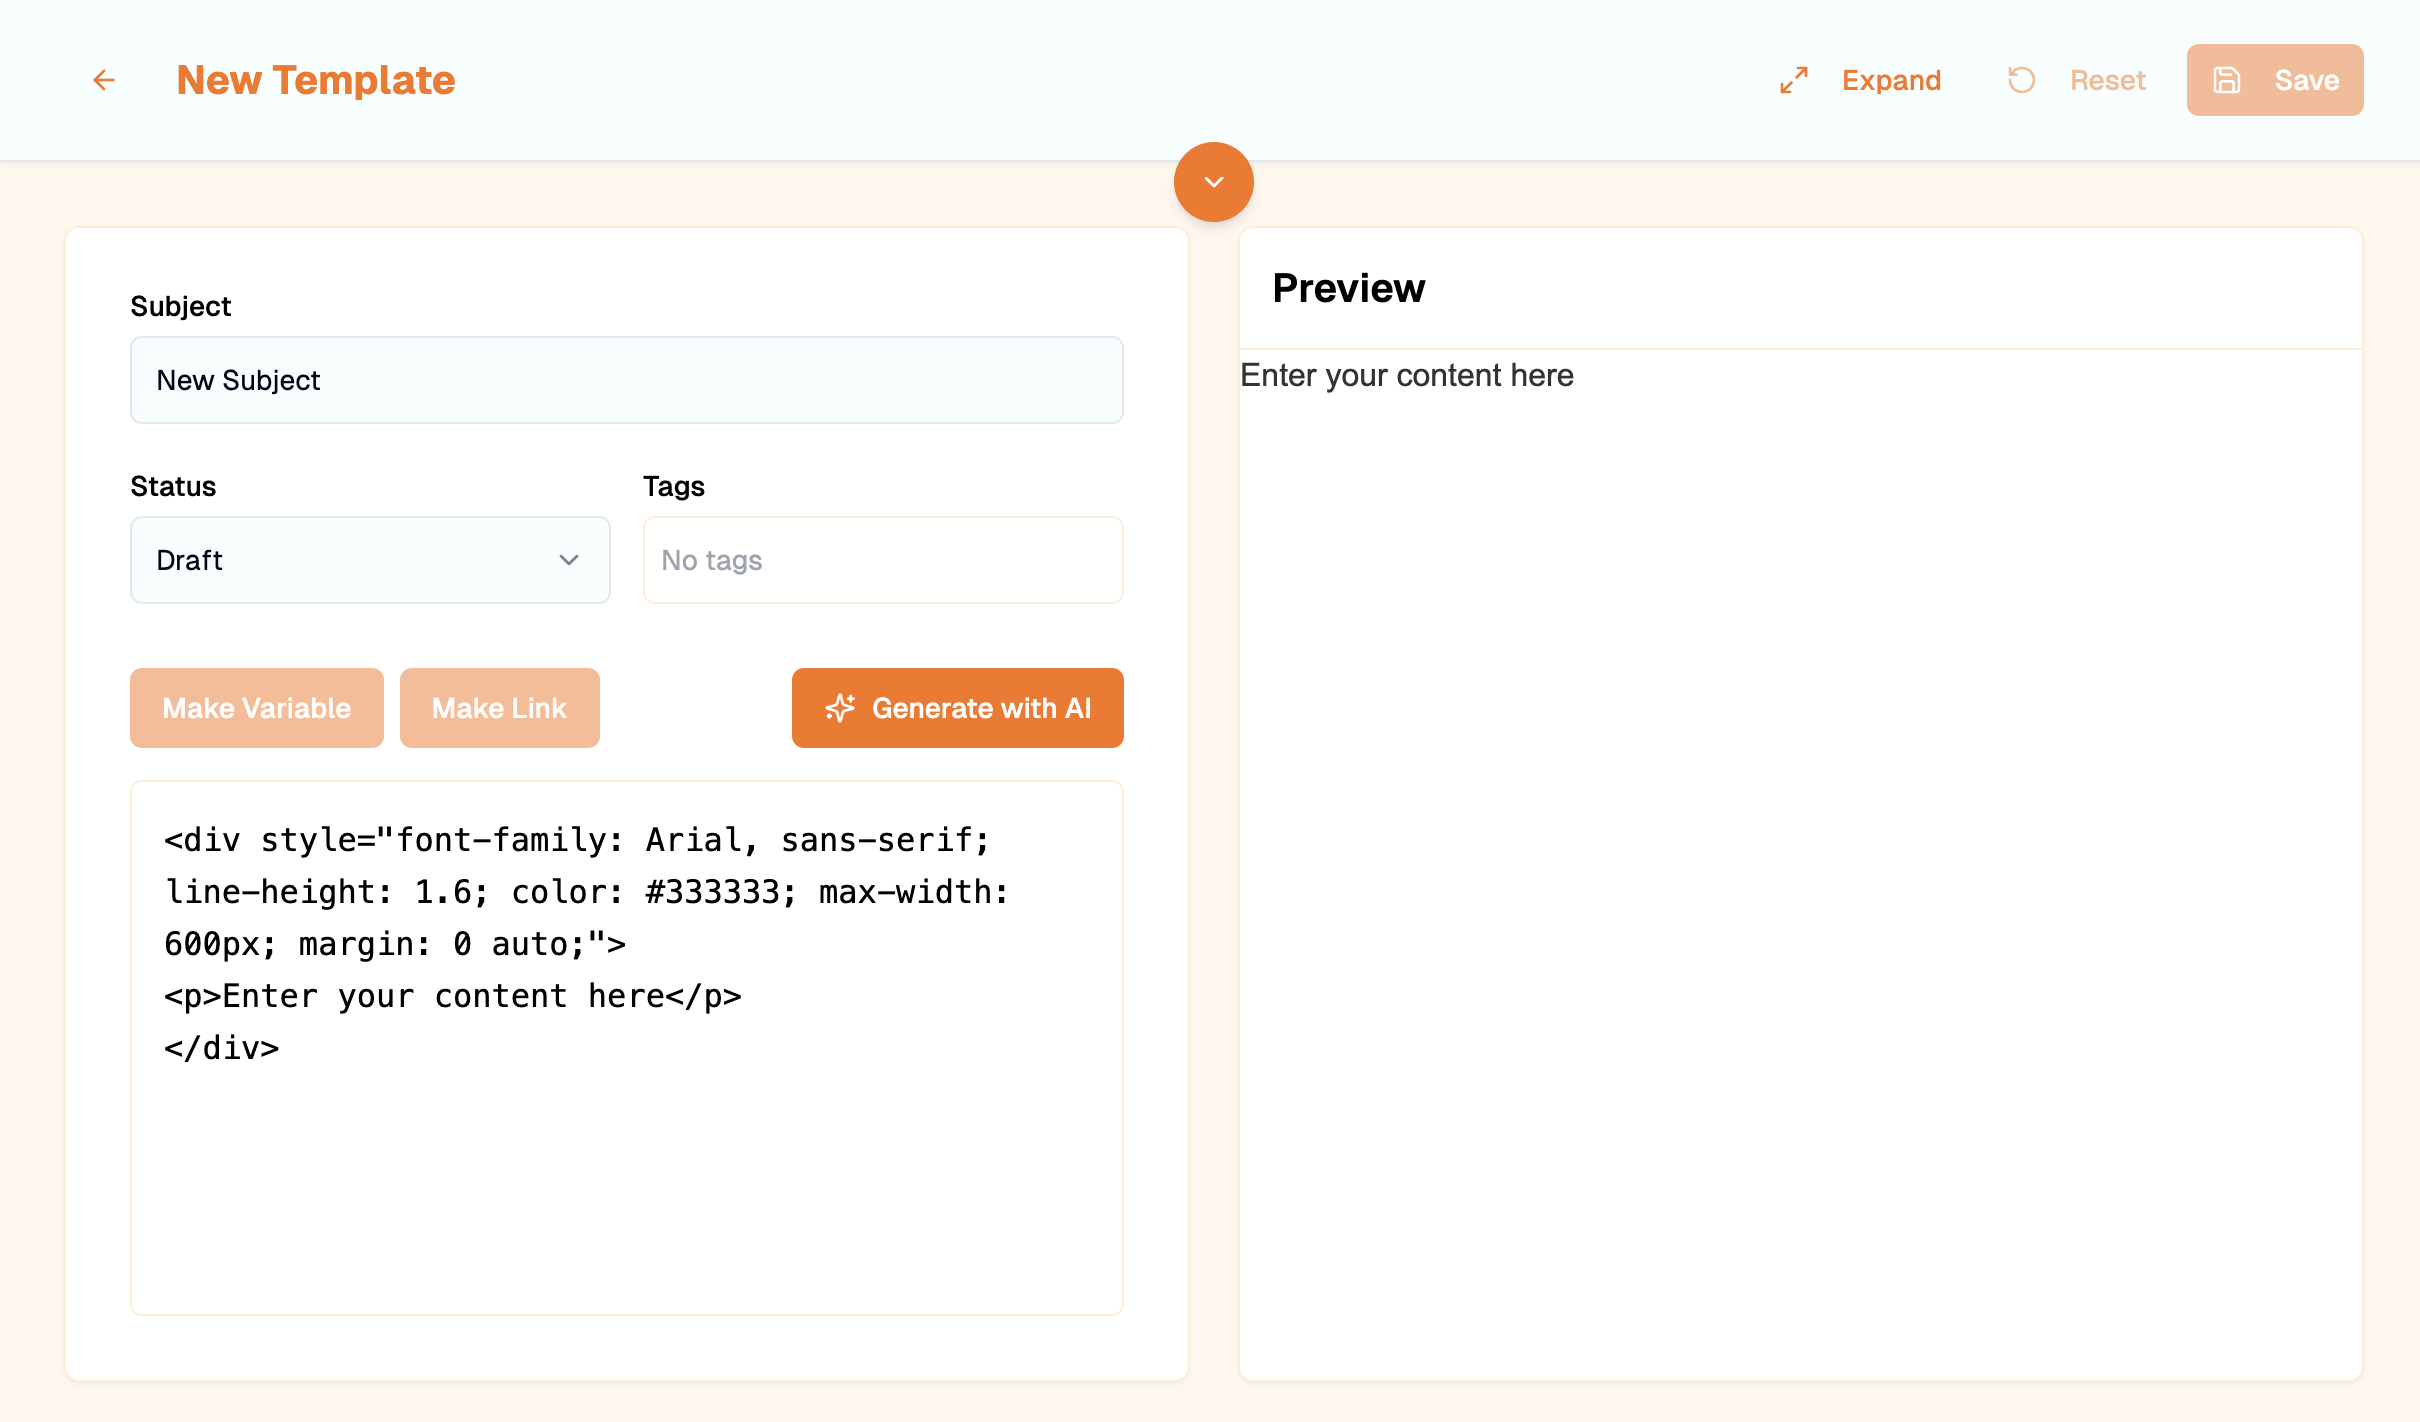
Email template editor with HTML on the left and preview on the right
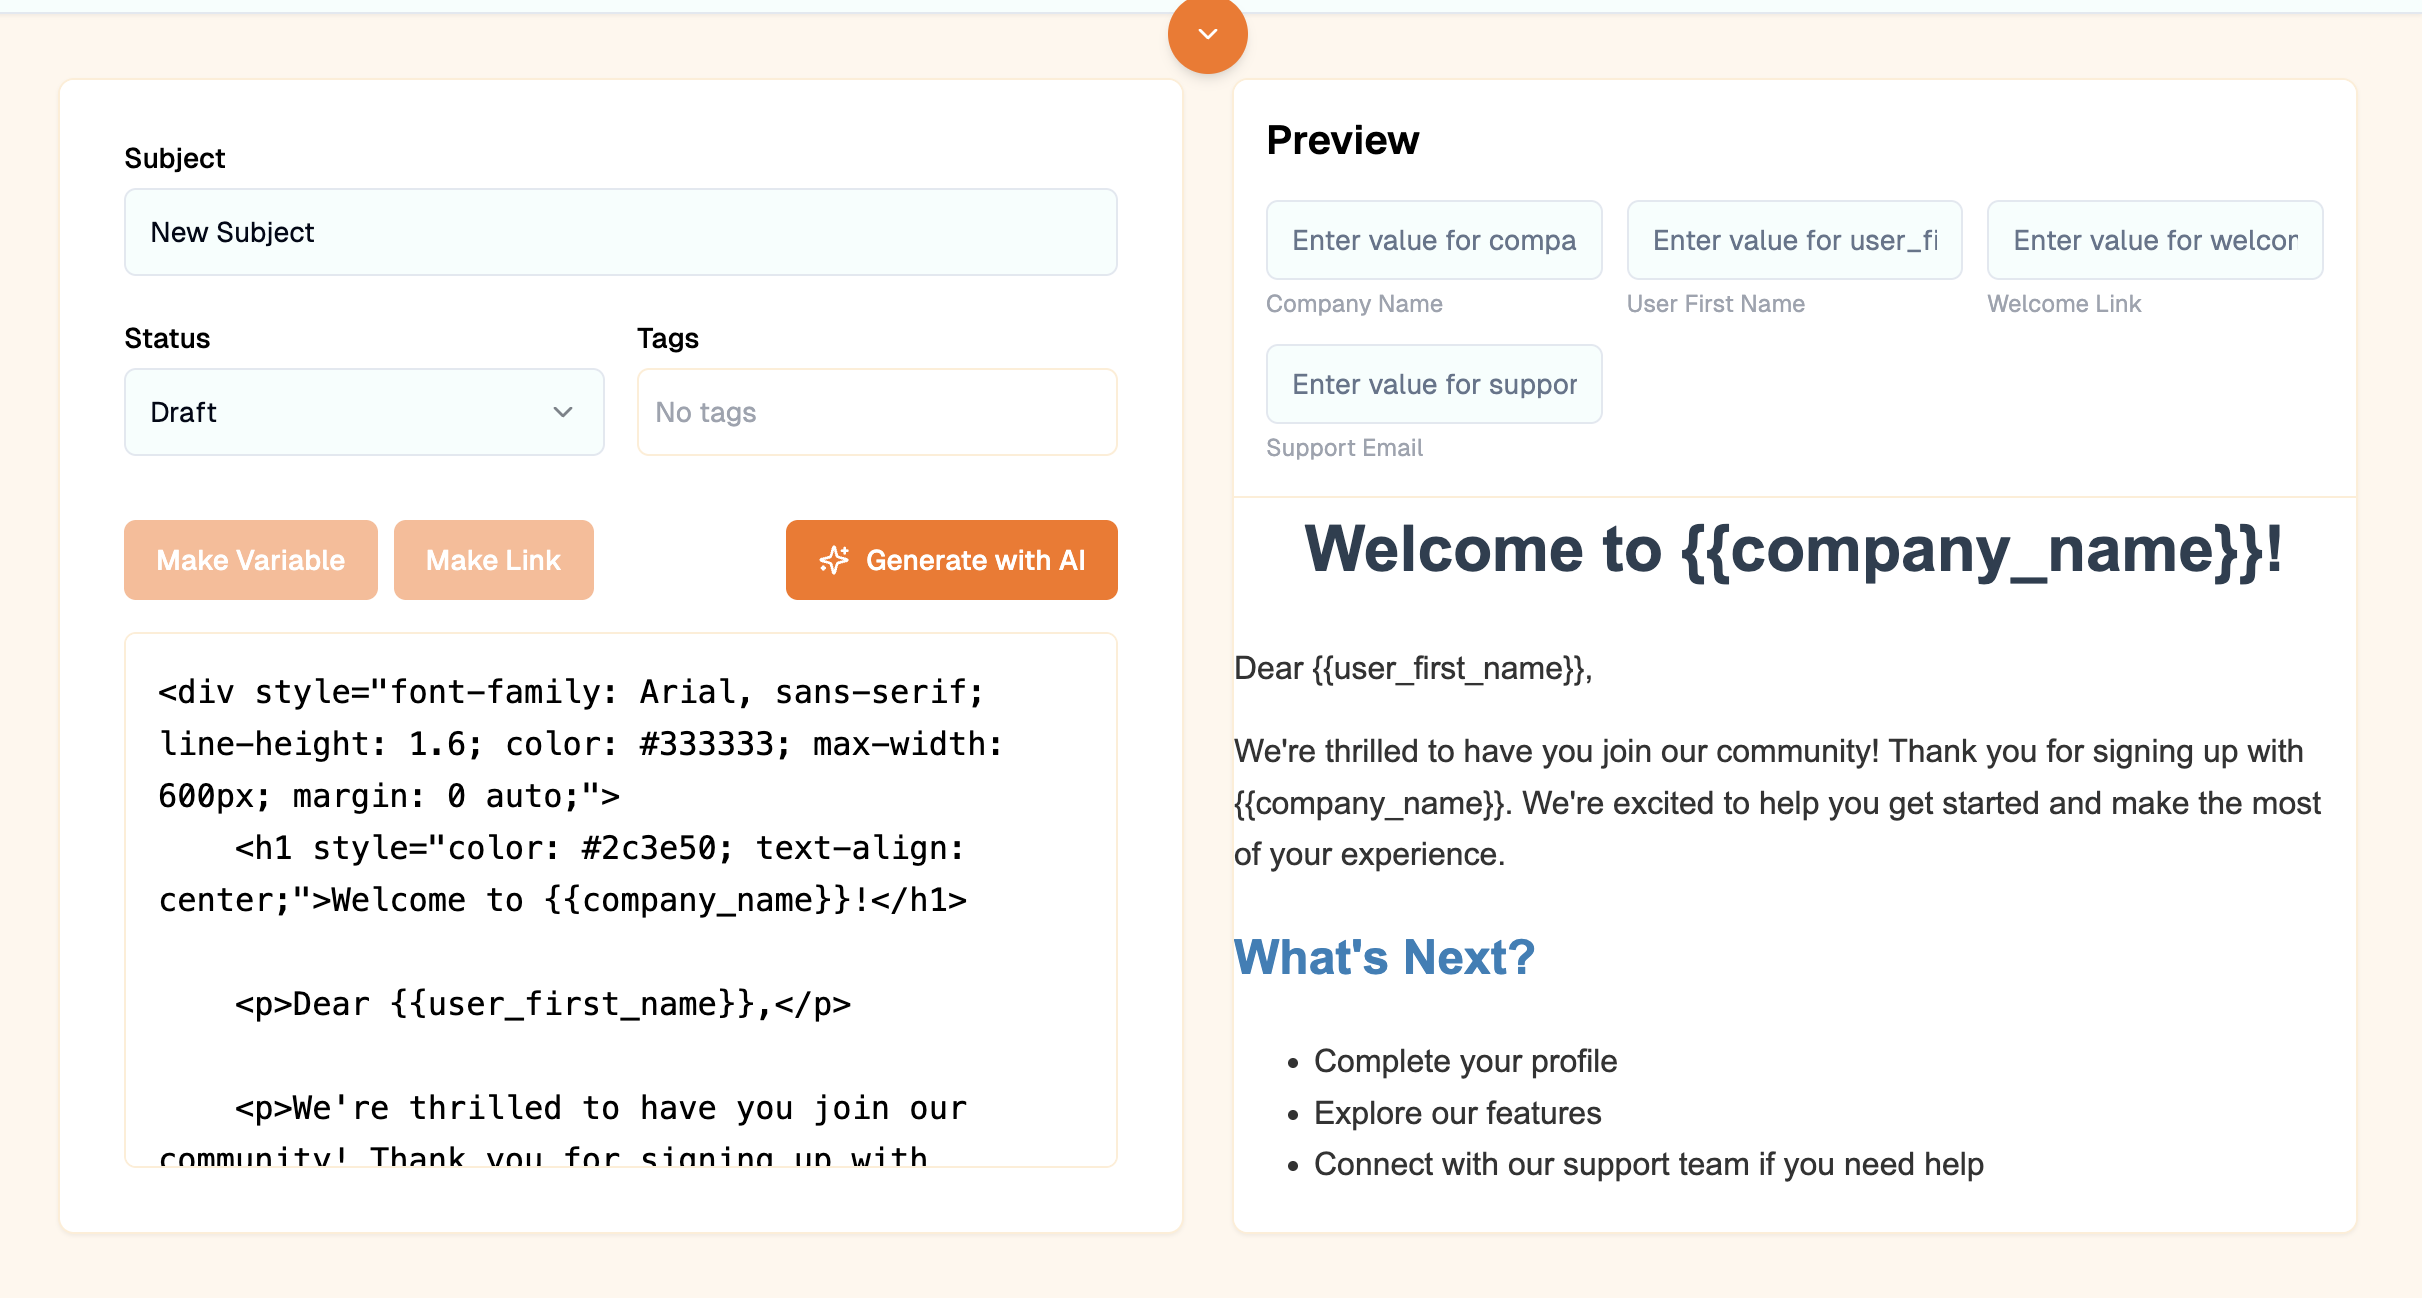
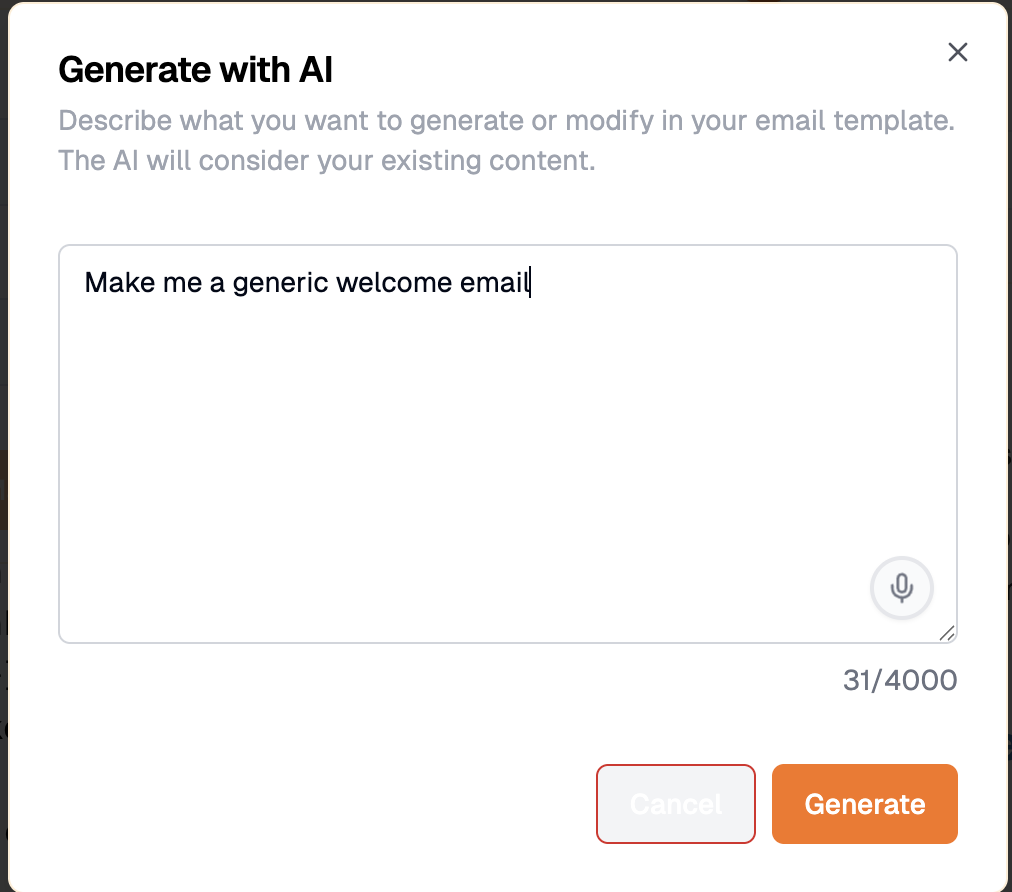
On the left is the HTML that builds the template; on the right is the live preview. First set a name and subject. Click New Template at the top to edit the template title. Edit the subject field the same way. Build the body by editing the HTML on the left. If you prefer not to write HTML by hand, use Generate with AI: describe the email you want, and the tool produces HTML. For example, here is the prompt field and a generic welcome email result:
Generate with AI prompt field for email template
AI-generated welcome email HTML preview

Variables

Double curly braces in the HTML are variable placeholders. They keep most of the template fixed while you personalize the rest per send—roughly the same structure every time with room for names, dates, links, and other field-specific content. To preview filled-in values, use the inputs above the preview. Here is the earlier example after supplying variable values:
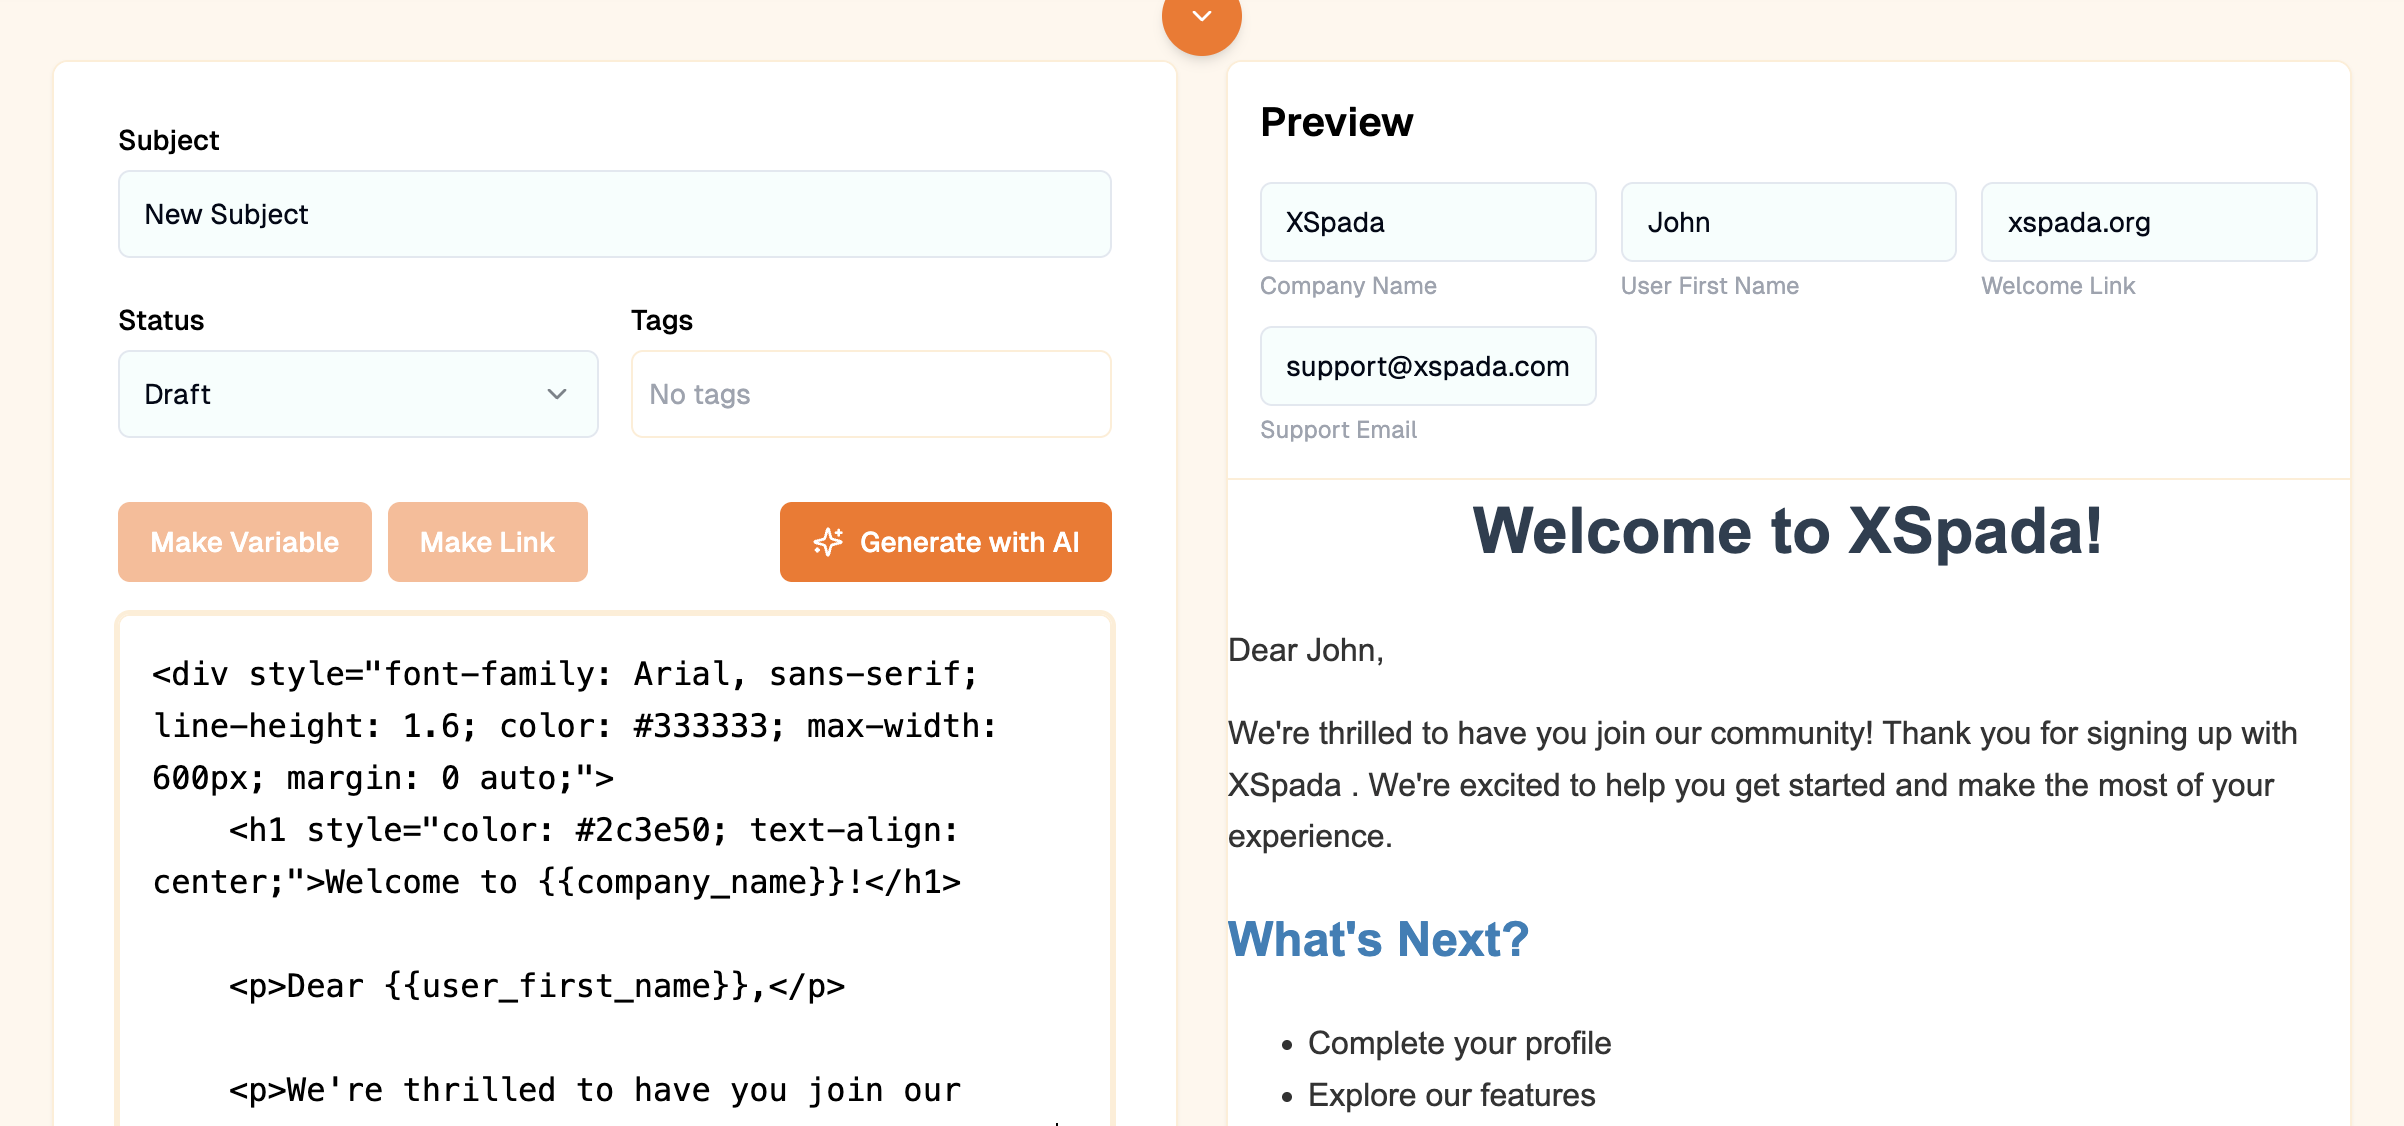
Email preview with variable values filled in
Add a variable by wrapping a name in double curly braces, or highlight the text that should become the variable and click Make Variable. When you run the template through the Email Template Node, each variable appears as its own input—choose clear names so they are easy to map when building flows.
Need help with the Email Template Node?See your team’s Email Template Node walkthrough or ask your FDE for details.
To make a URL clickable in the sent email, highlight it and click Make Link.

Saving and editing

Click Save in the top right when you are finished. To edit an existing template, select its name in the Email Templates list on the left.

Headers and footers

Near the top of the interface, use the toggle to open a tabs drawer with Editor, Headers, and Footers.
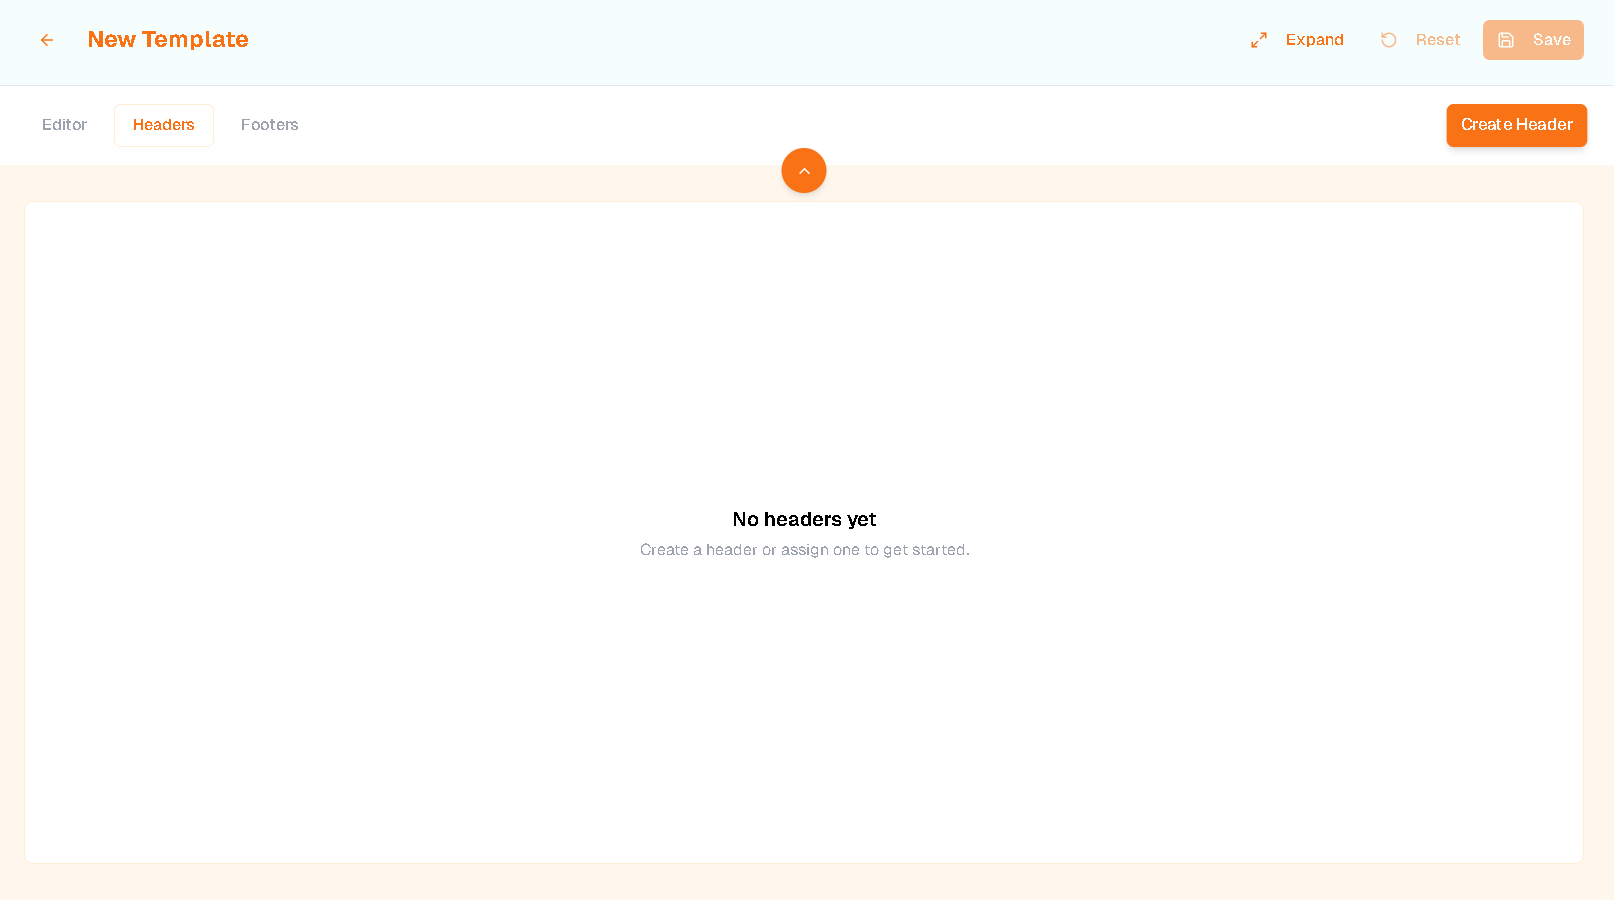
Tabs drawer with Editor, Headers, and Footers
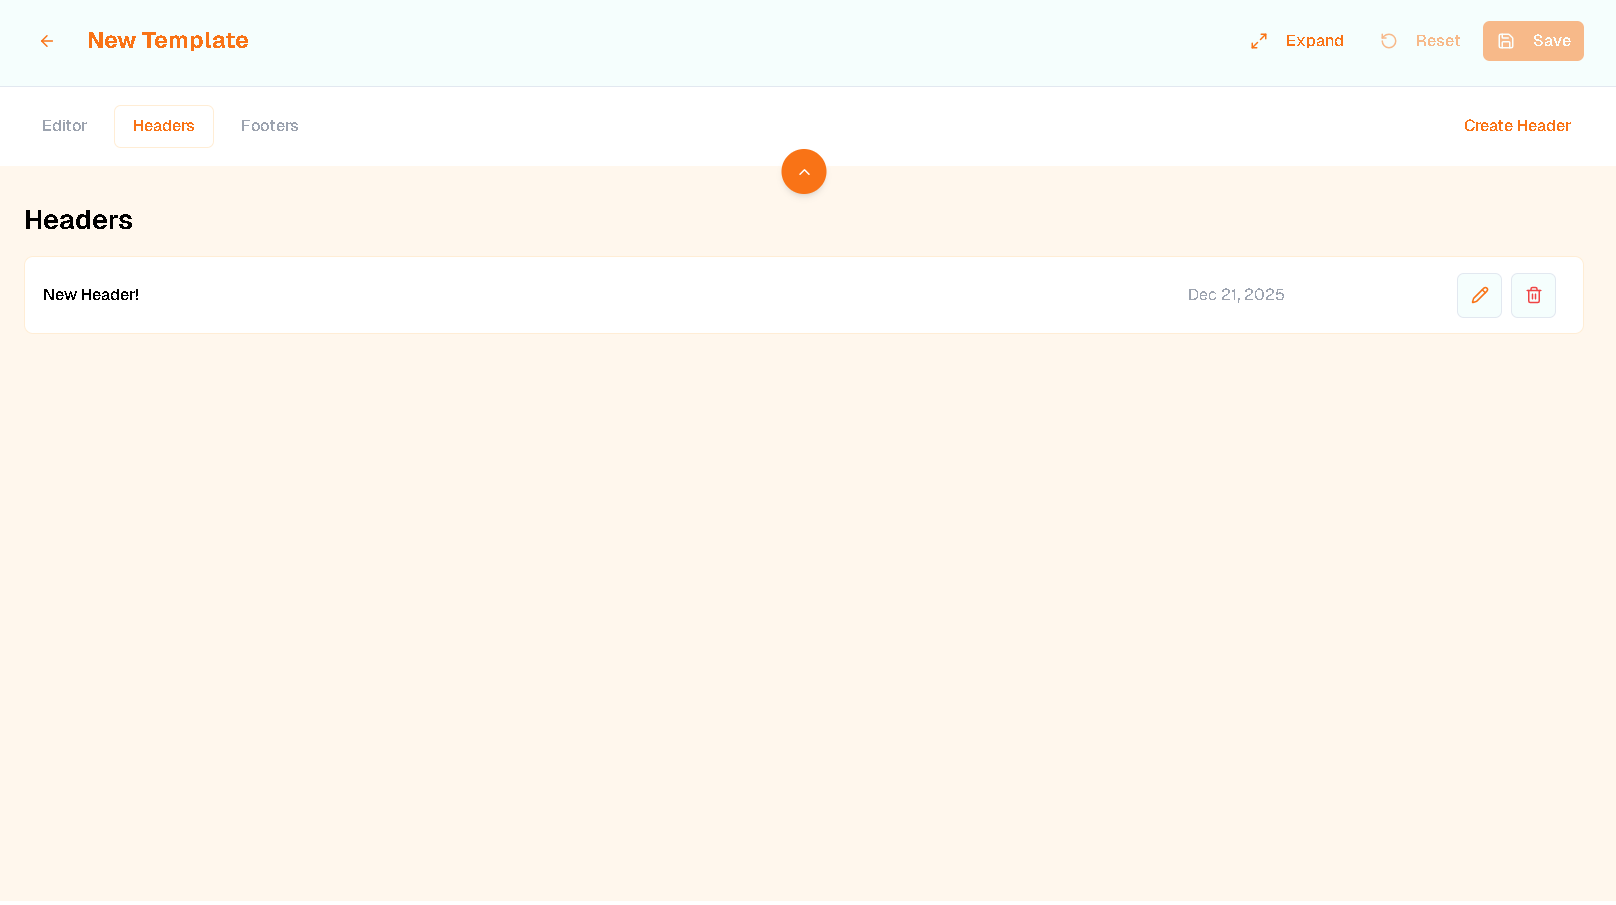
On Headers, you see existing headers in a table plus Create Header.
Headers tab with empty list
Footers works the same way for your footer library.
Footers tab with empty list
Editor returns you to the main template. Toggle the drawer anytime to switch between template editing and header/footer management.

Creating headers

On Headers, click Create Header to open the split editor: HTML on the left (monospace), live preview on the right.
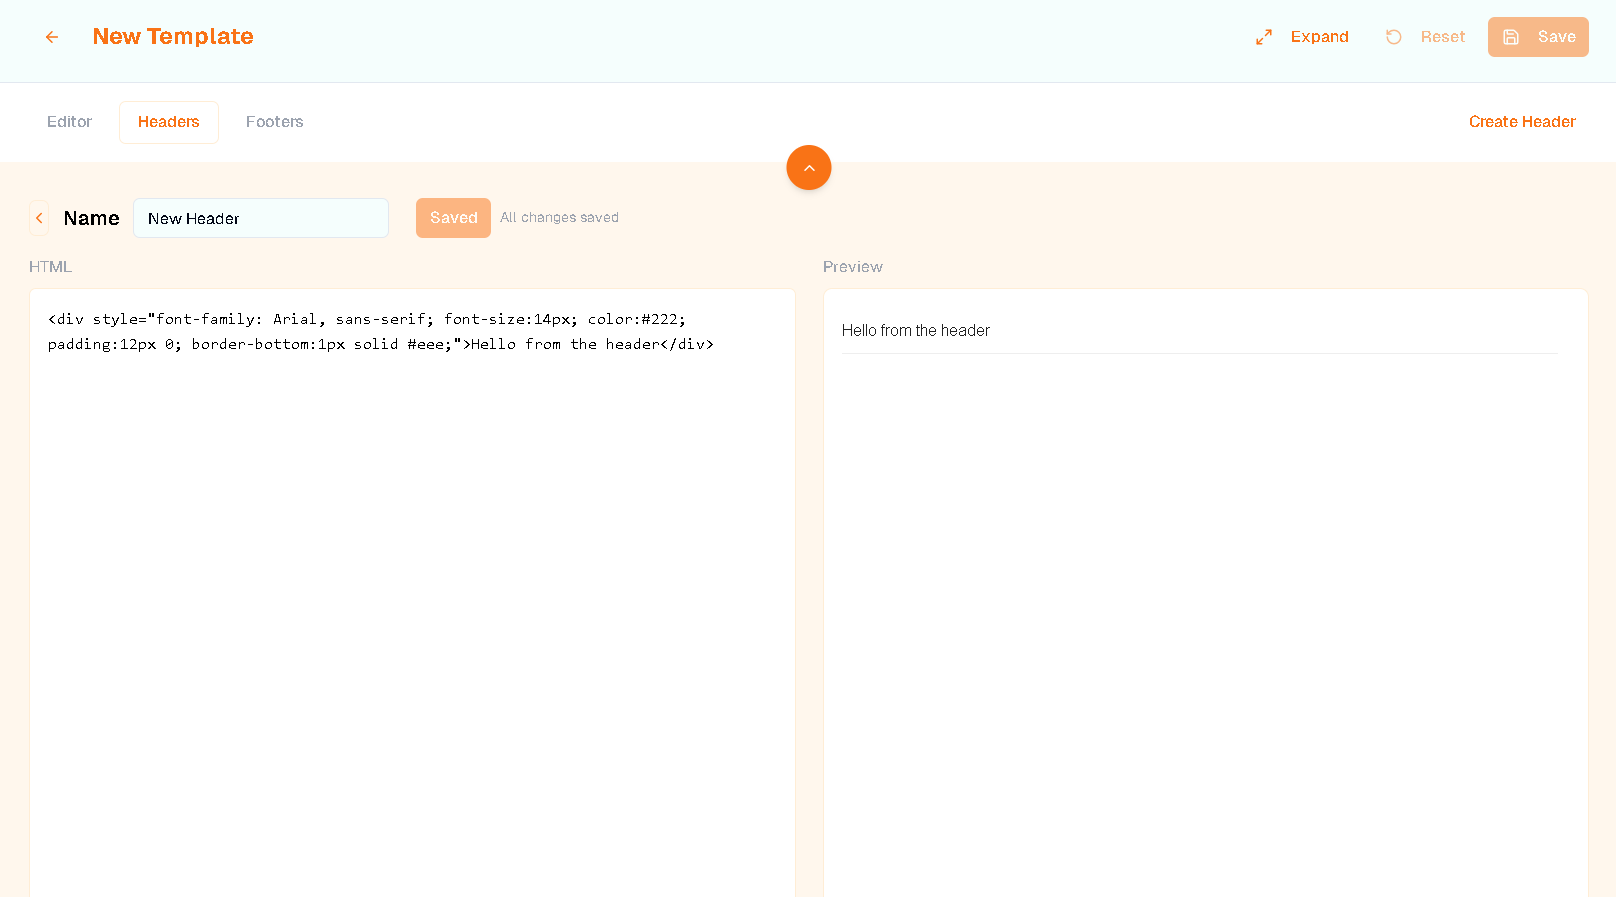
Header editor with HTML and live preview
At the top, set a descriptive name. Save shows whether you have unsaved changes; the back control returns to the list (and stays disabled until you save, to avoid losing work).
Headers list with a saved header

Creating footers

On Footers, creation matches headers: same split-screen HTML and preview. The default starter content is tuned for footer typography and spacing.
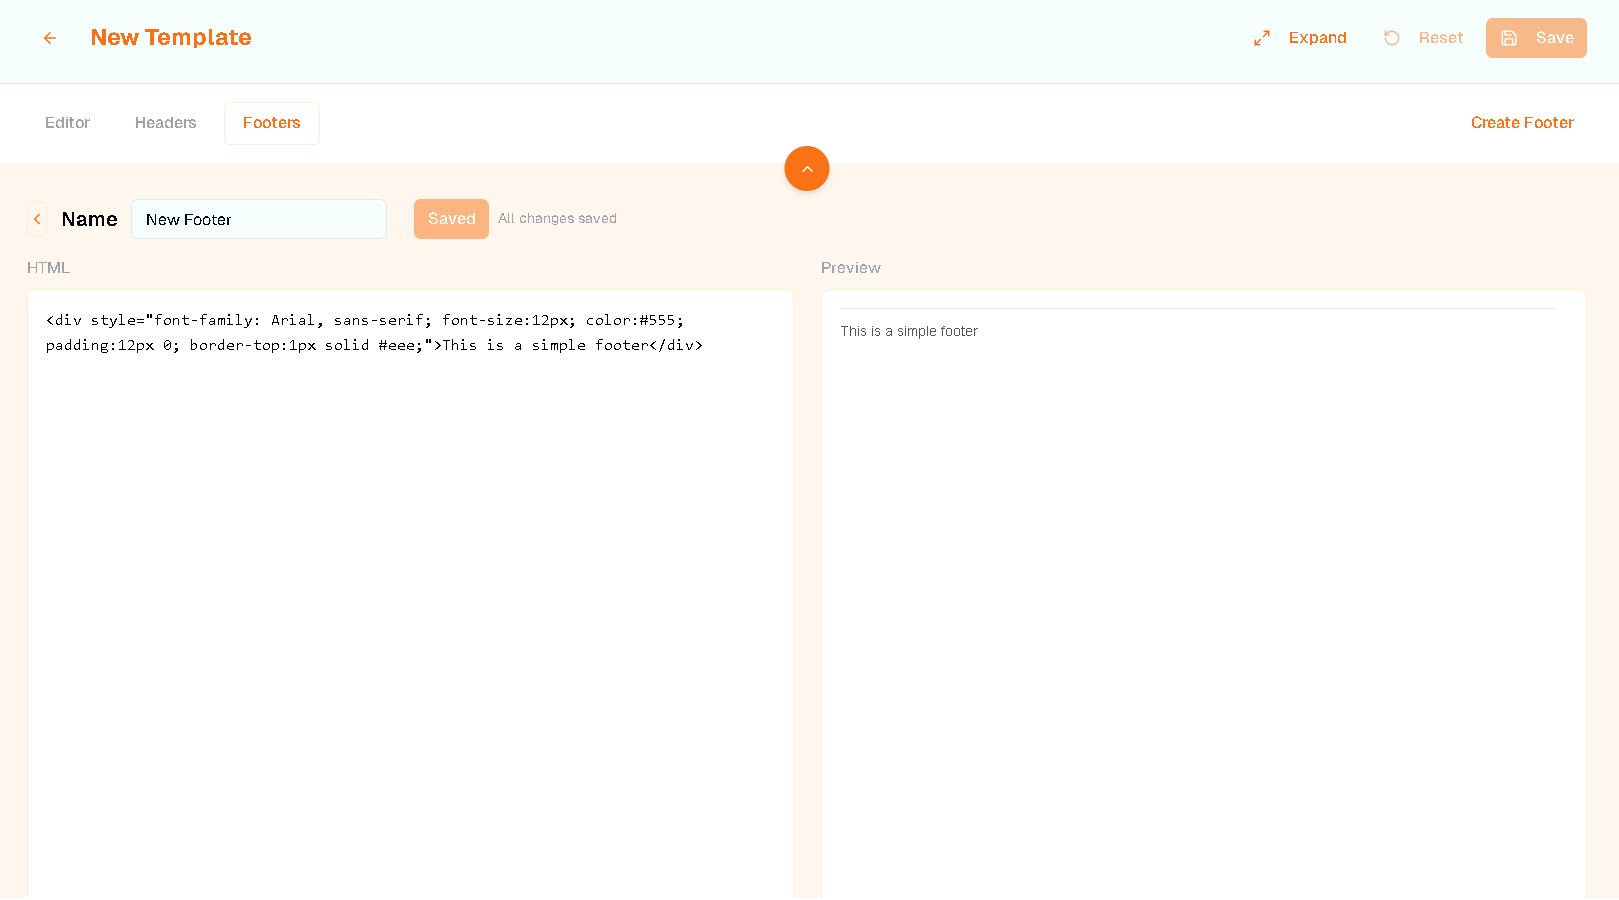
Footer editor with HTML and live preview
Saving and navigation behave the same as for headers. On Editor, click Assign Header and Footer. The modal shows scrollable Headers (top) and Footers (bottom) as cards on the left, with matching live previews on the right.
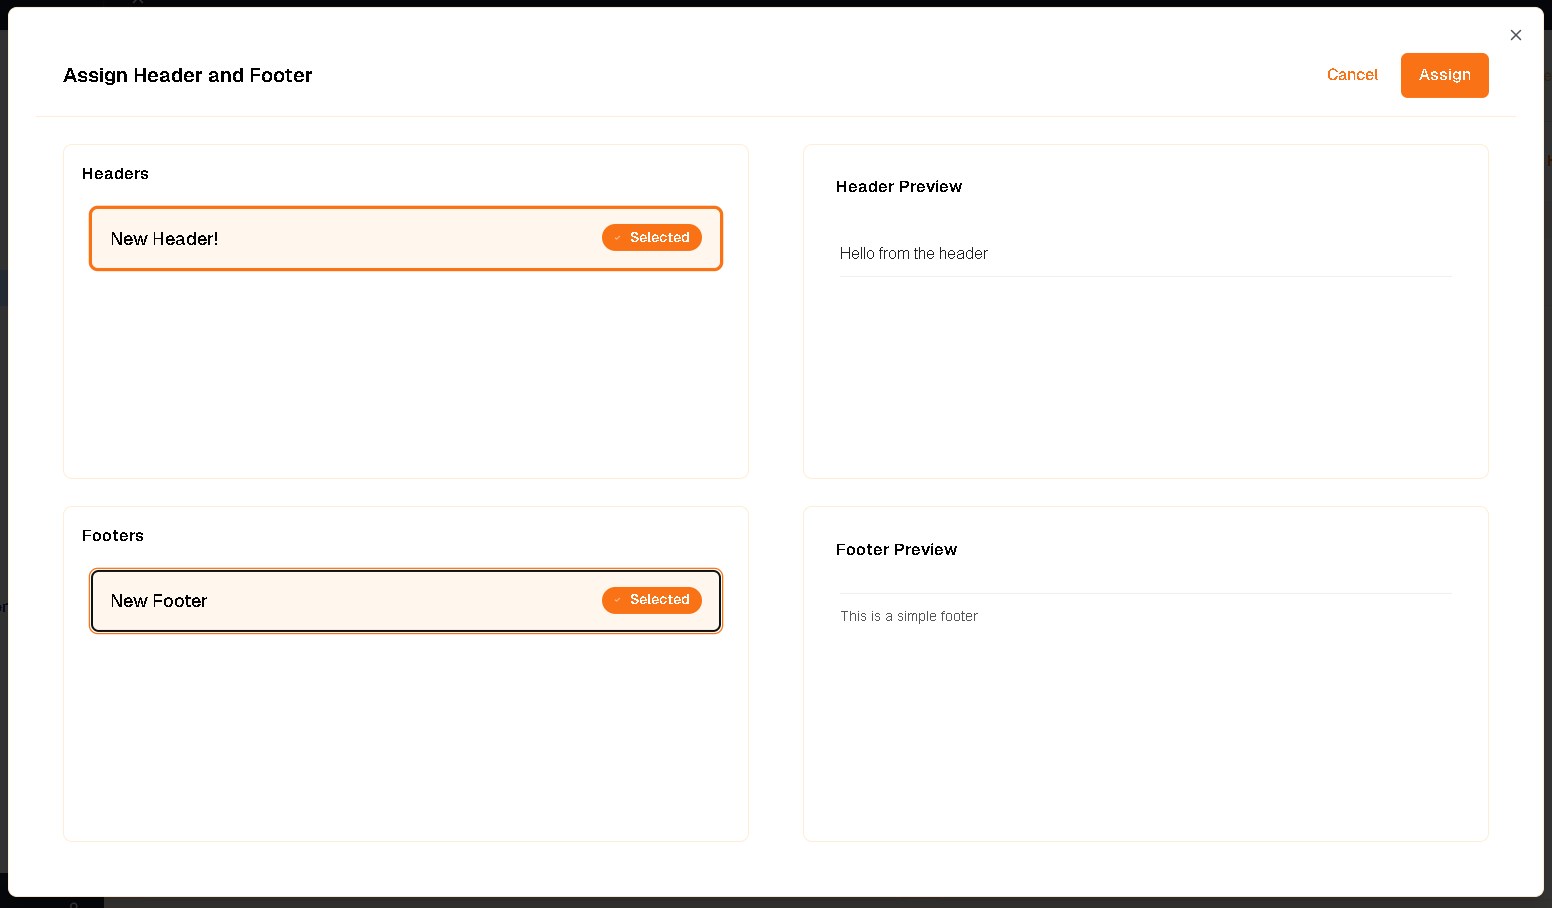
Assign header and footer dialog with previews
Selected cards show a Selected badge and checkmark; previews update immediately. Click again to deselect. Click Assign to attach your choices to this template. If you would like something unique to your business or have a unique issue, use XSpada Evolve or ask a XSpada rep.