
What is an Action?

The image below is what you see when you open Actions under System in the left sidebar. You get a list of every Action you have created and a button in the top right to create new ones. Before you dive in further, what counts as an action? You can describe Actions in several ways—but in practice, each one is how you automate a small repeatable task by chaining nodes in the Action builder.
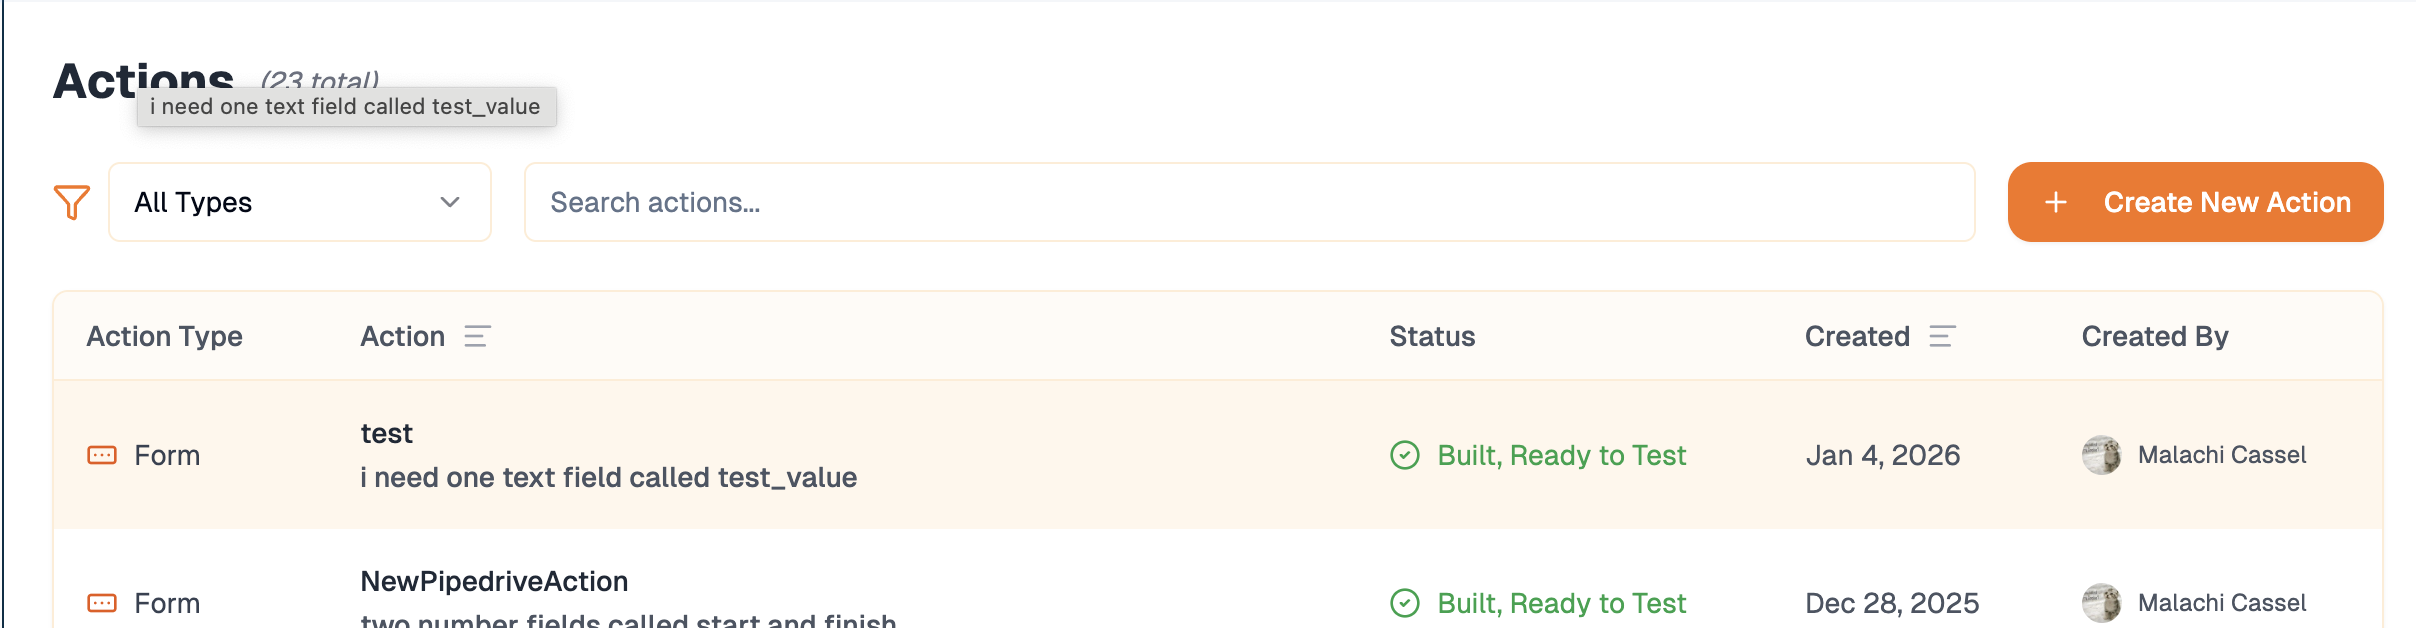
Action Page
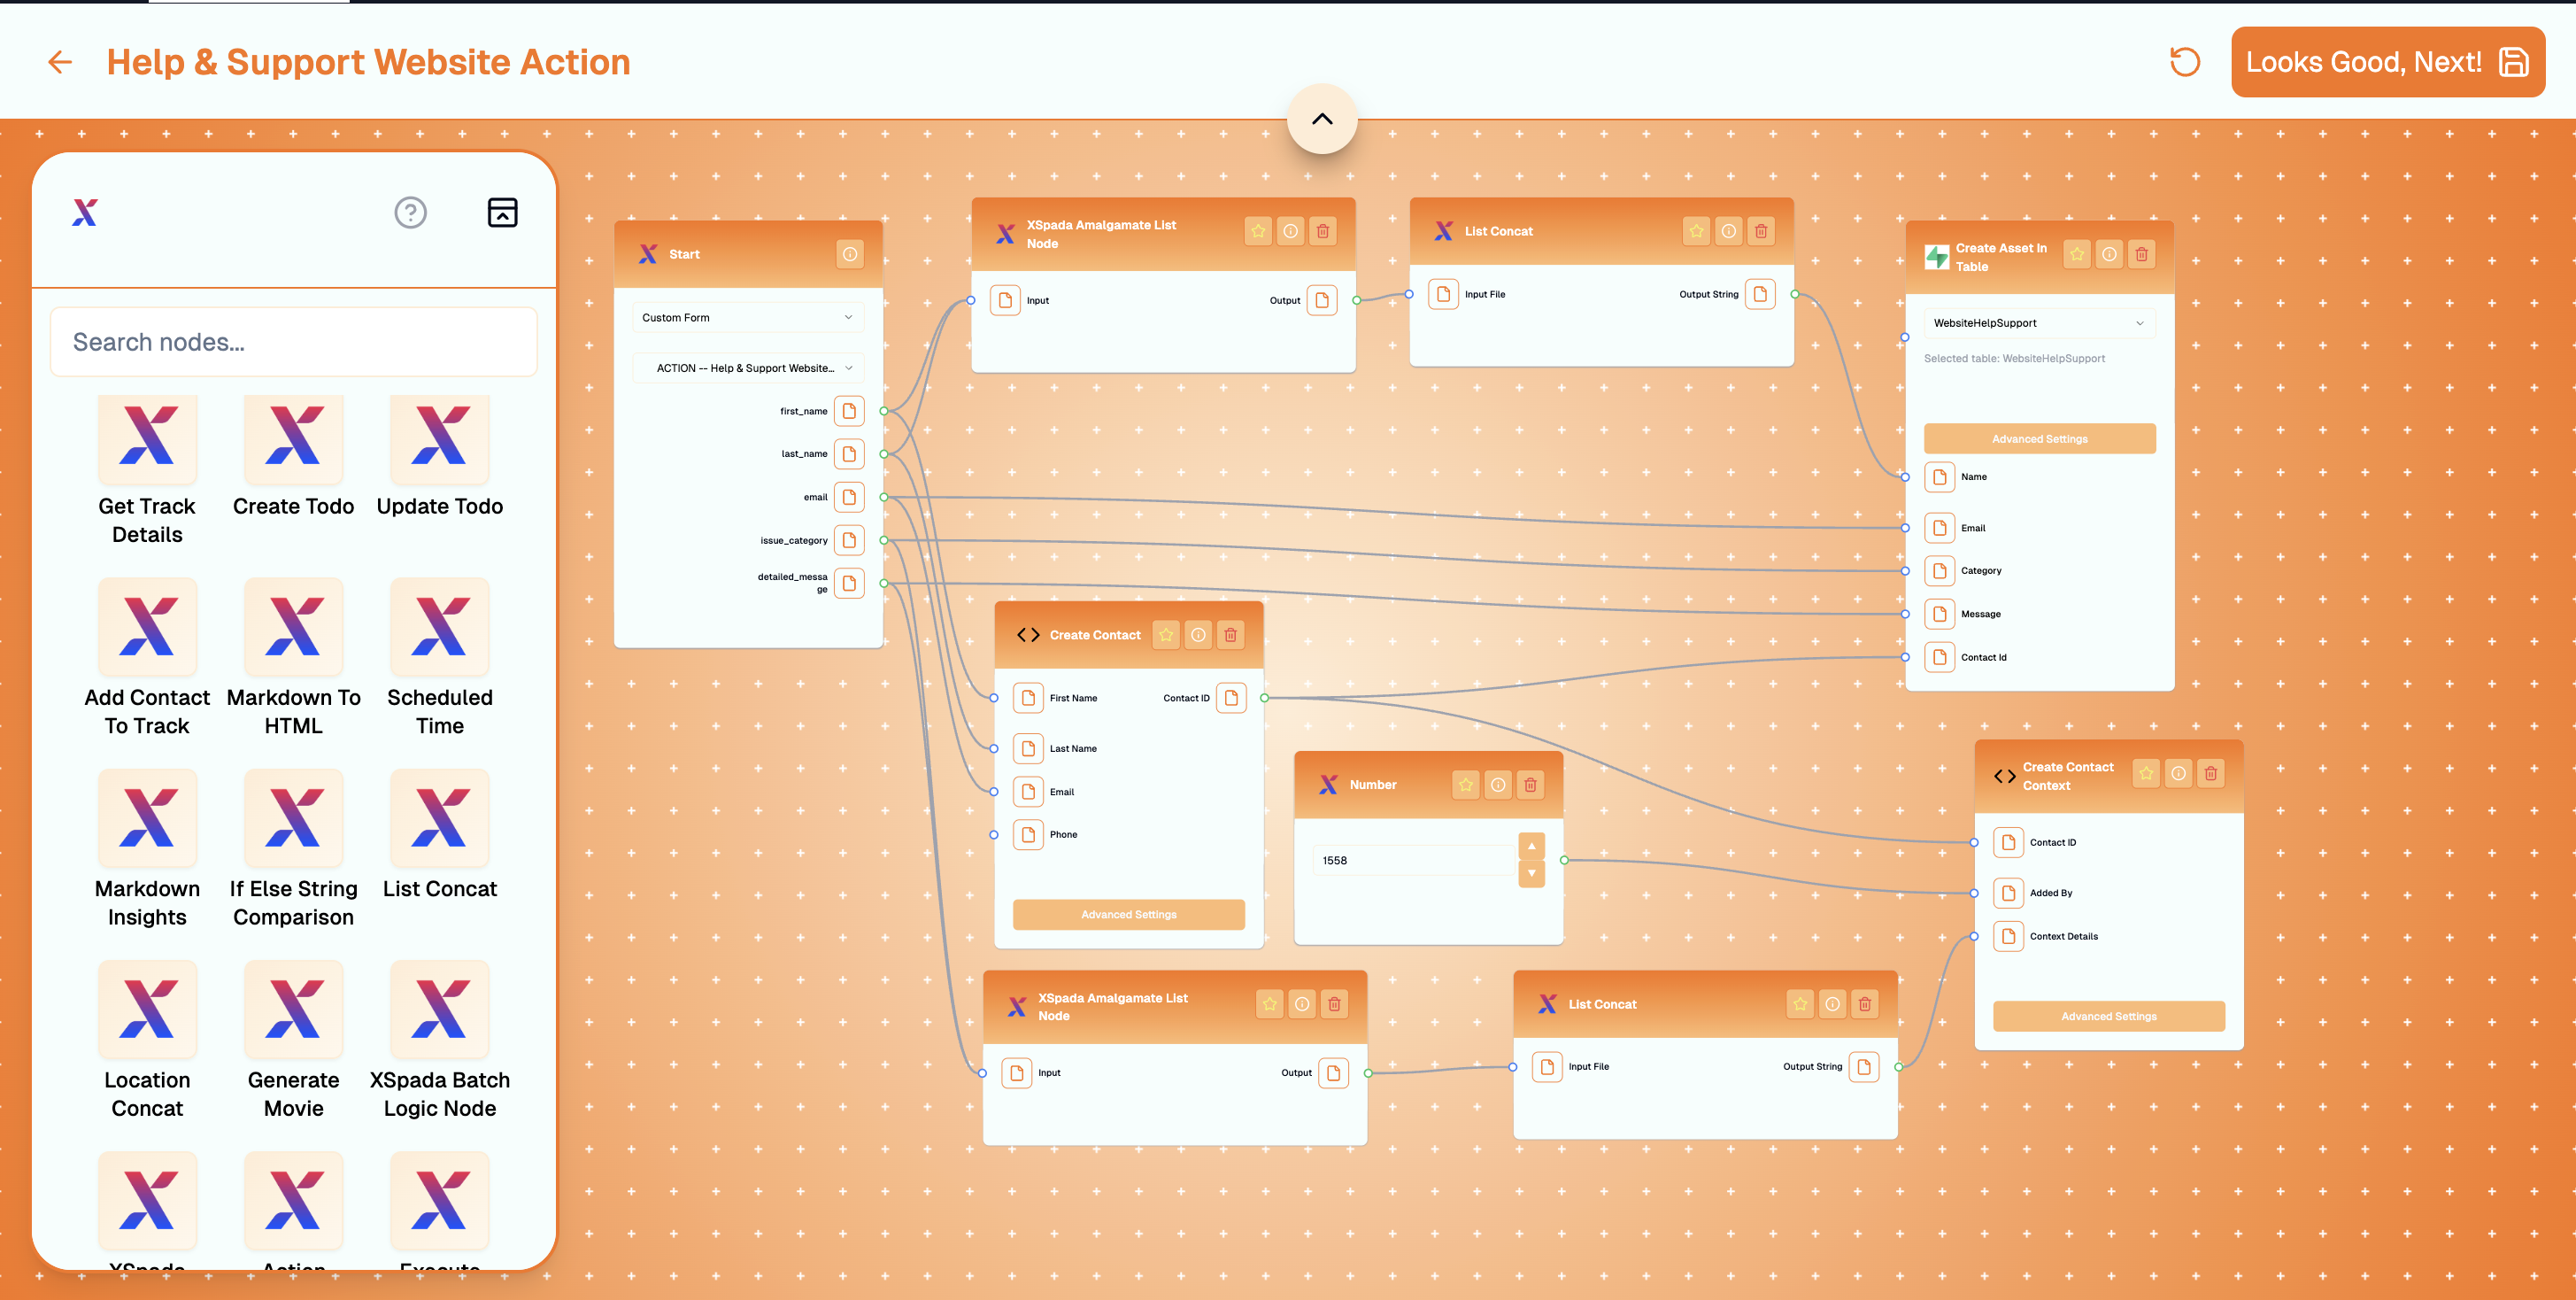
Consider the flow behind the Help and Support form on the XSpada site. Whenever someone submits the Contact us form, you want those details saved to your database and the person added to Contact Book. That is a repeatable job, so we model it as an Action—a pipeline of nodes that runs every time the form is submitted.
Our Help and Support Action
Need help with nodes?If nodes are unclear from this overview, follow the Action builder flow in the product next—it walks through building Actions and wiring nodes step by step.

Action types

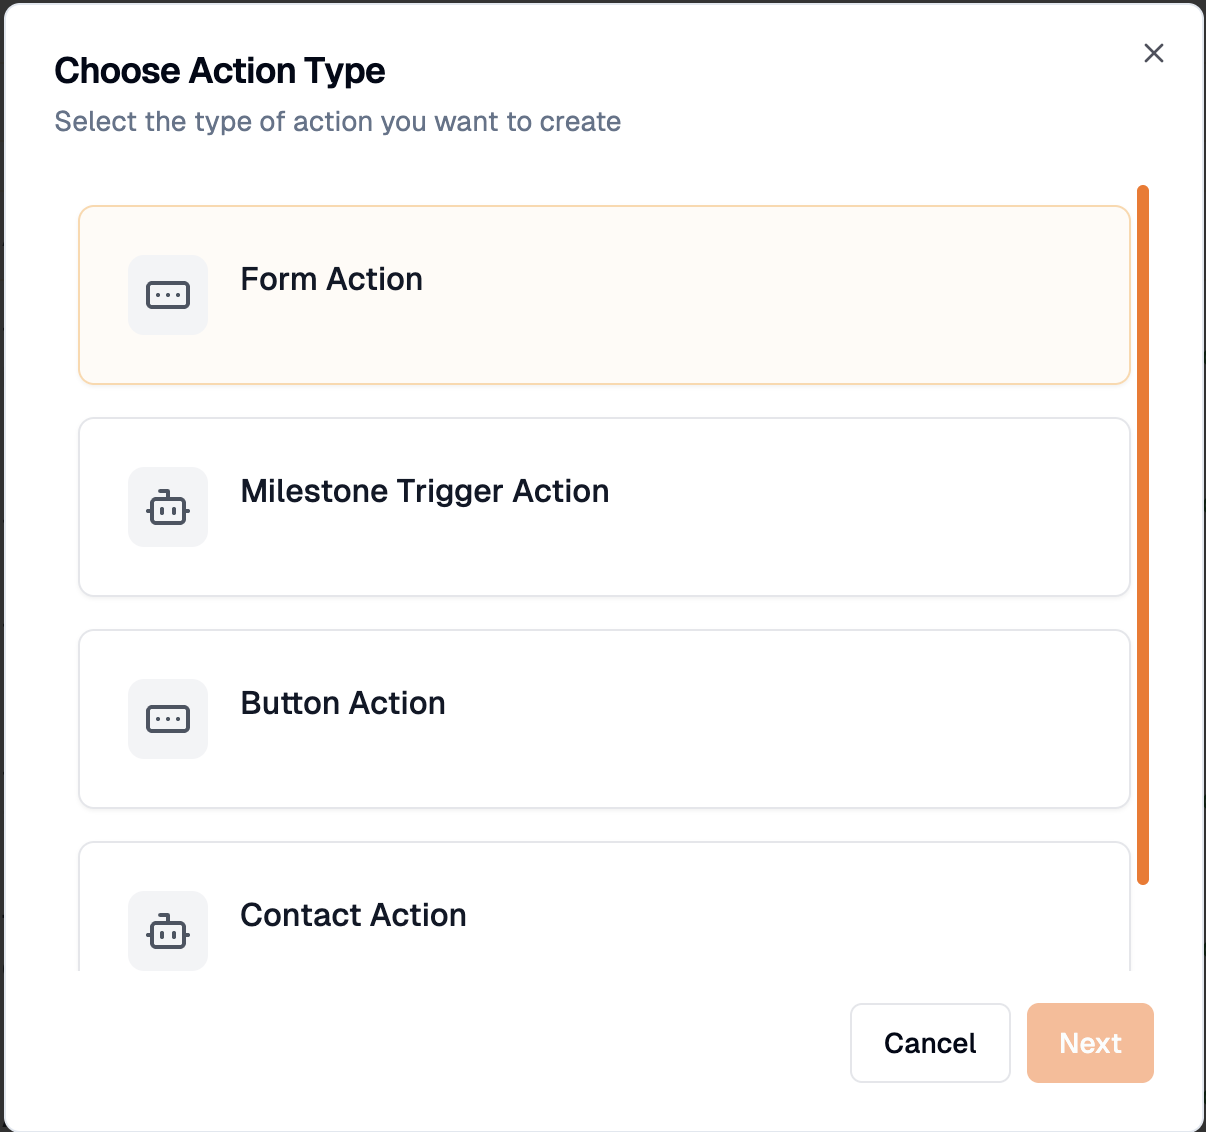
You start from Create new action in the top right. That opens a dialog where you choose the Action type—it controls what your starting node looks like. Compare with the Help and Support example above: its first stage is the Form Action type—a general-purpose starting point where you declare the inputs your flow receives first.
Available actions
Form Actions accept any combination of text, number, JSON, or CSV inputs. Those values become what the rest of your nodes see at run time. The Help and Support Action uses five text fields from the marketing form: first_name, last_name, email, issue_category, and detailed_message. Those values are forwarded into the pipeline when someone submits the form. Pick Form action when you mean to build that starter form. Next you choose a name and description for the Action.
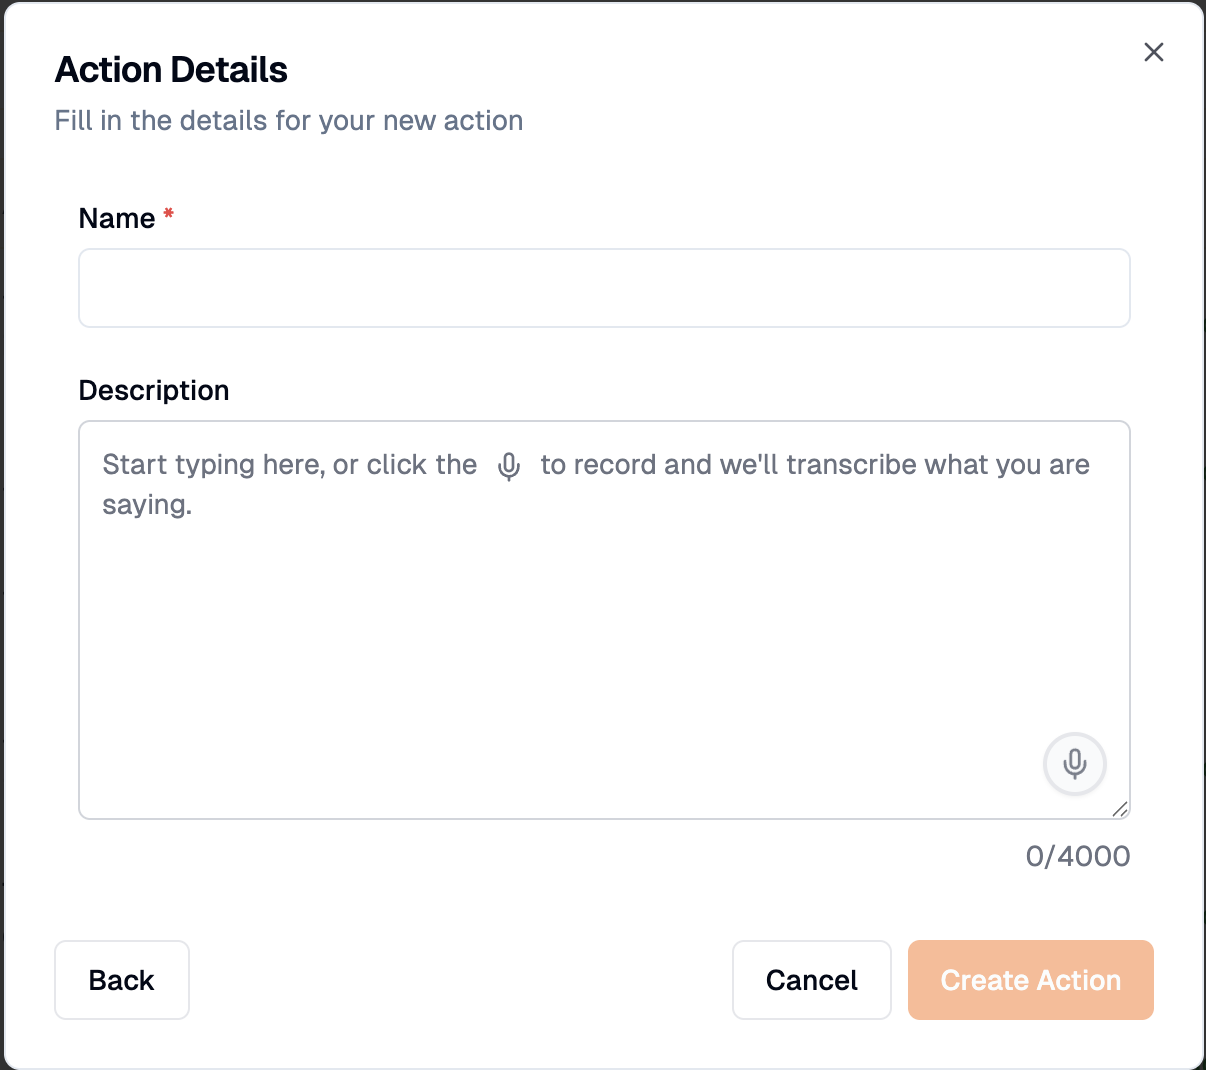
Form Action name popup
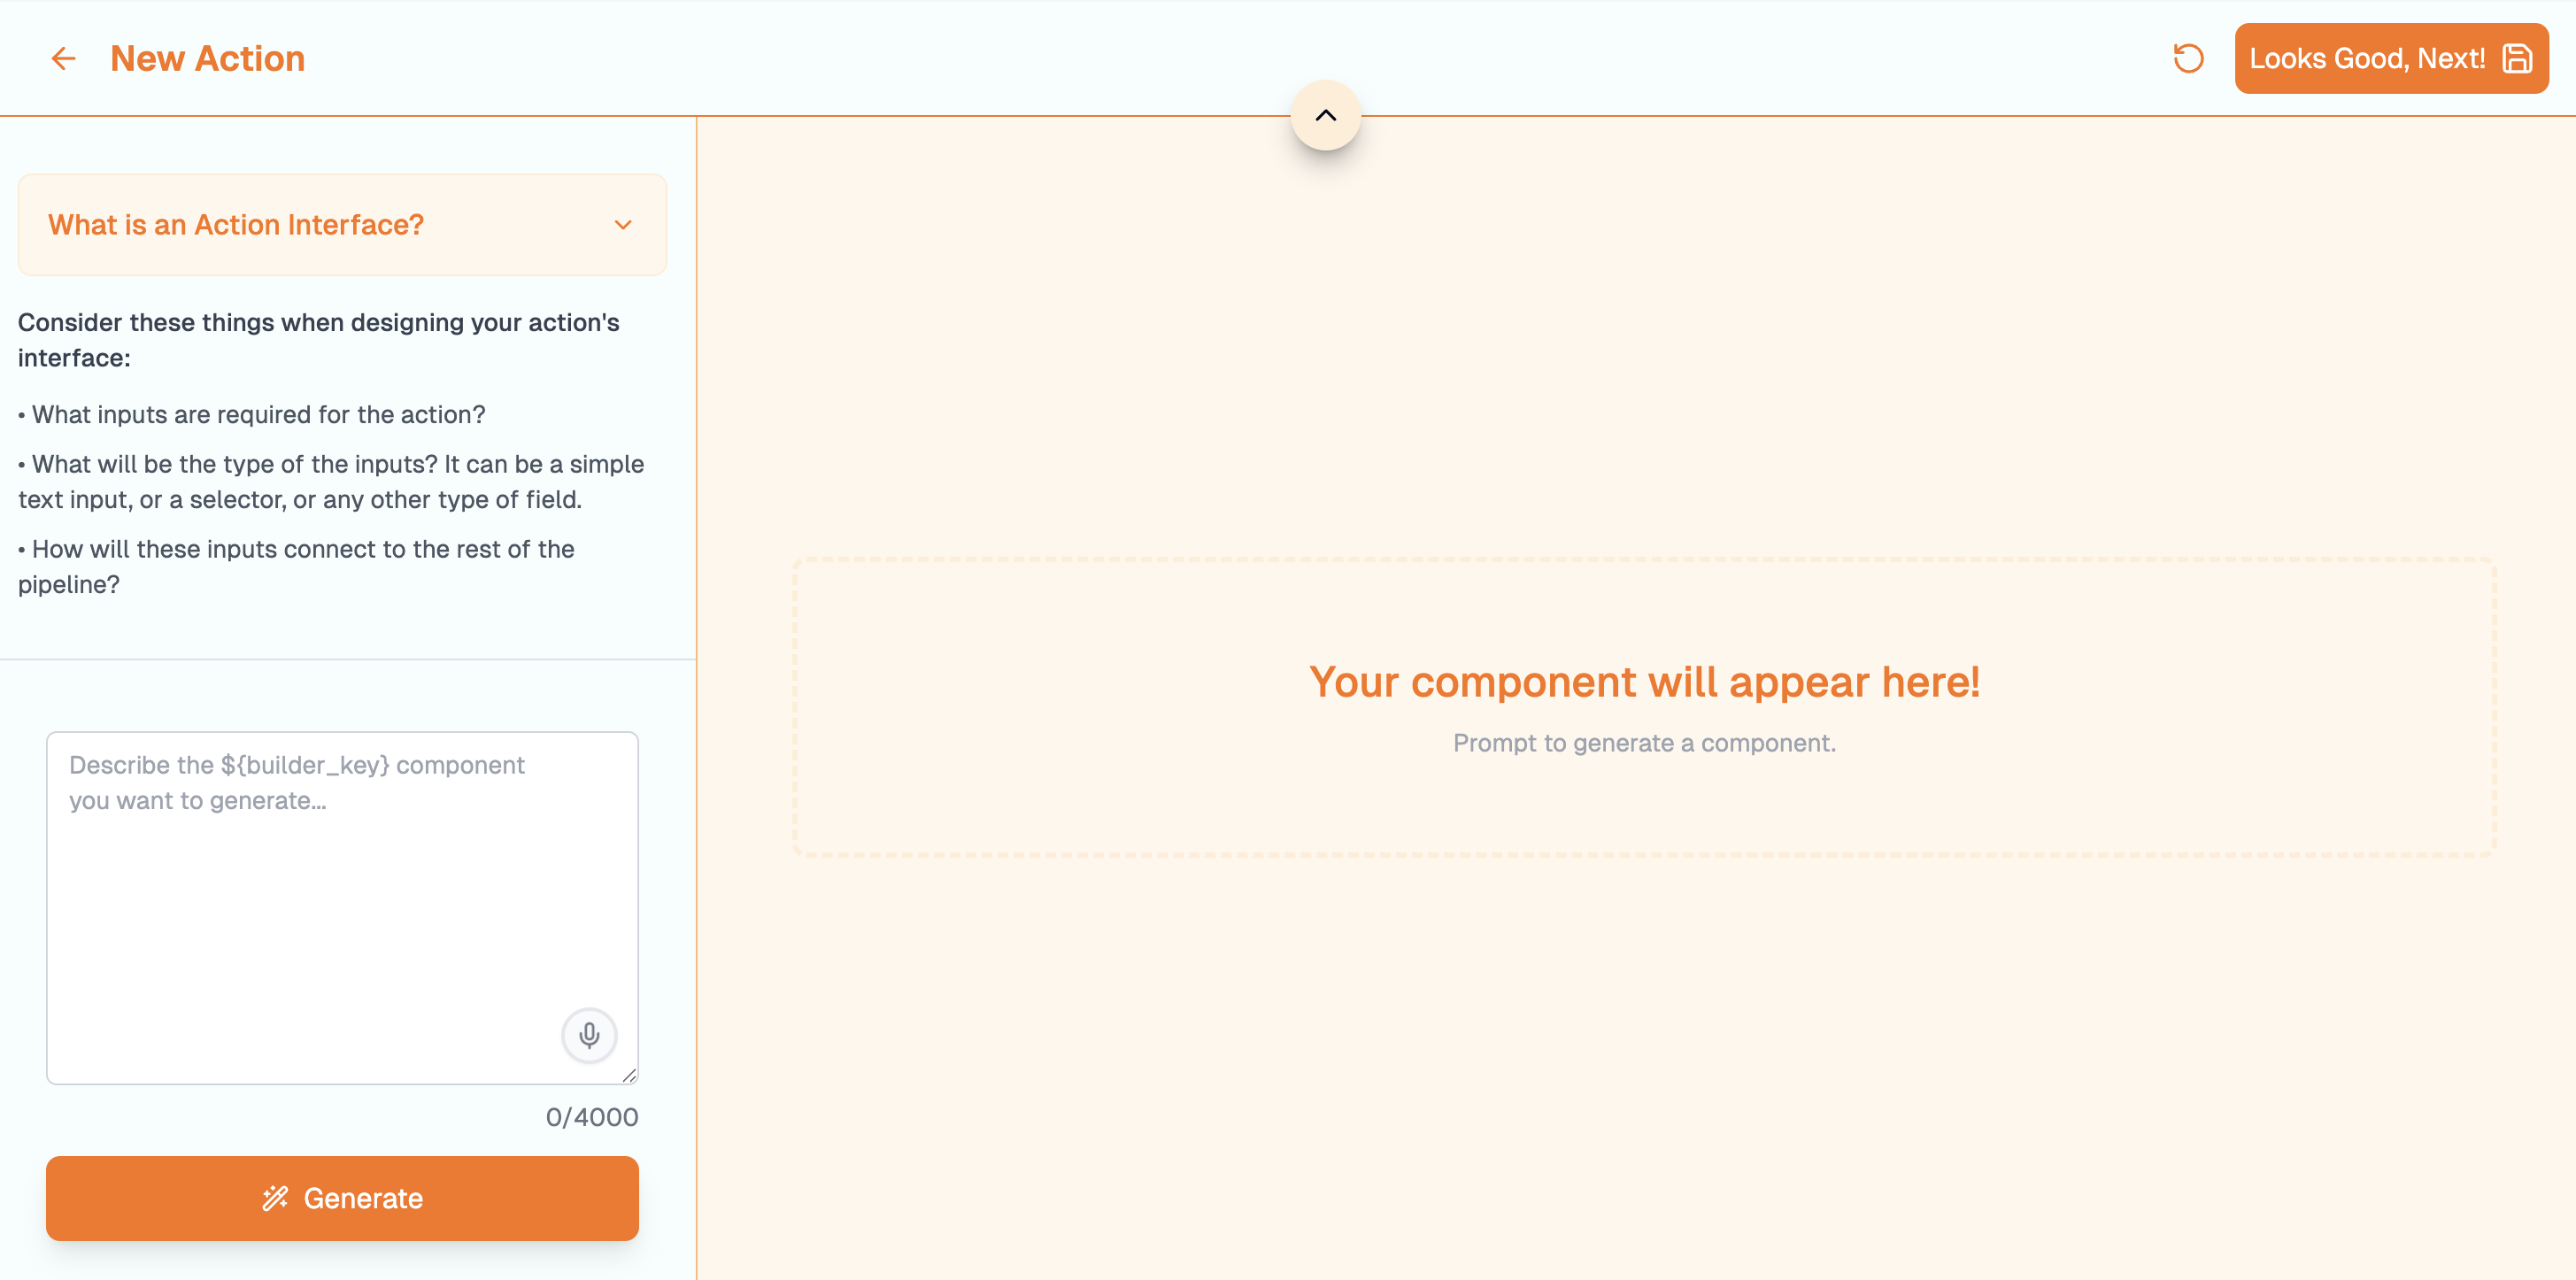
After you save the name and description, you land on the component builder—the guided step for defining the starter form schema.
Component builder page
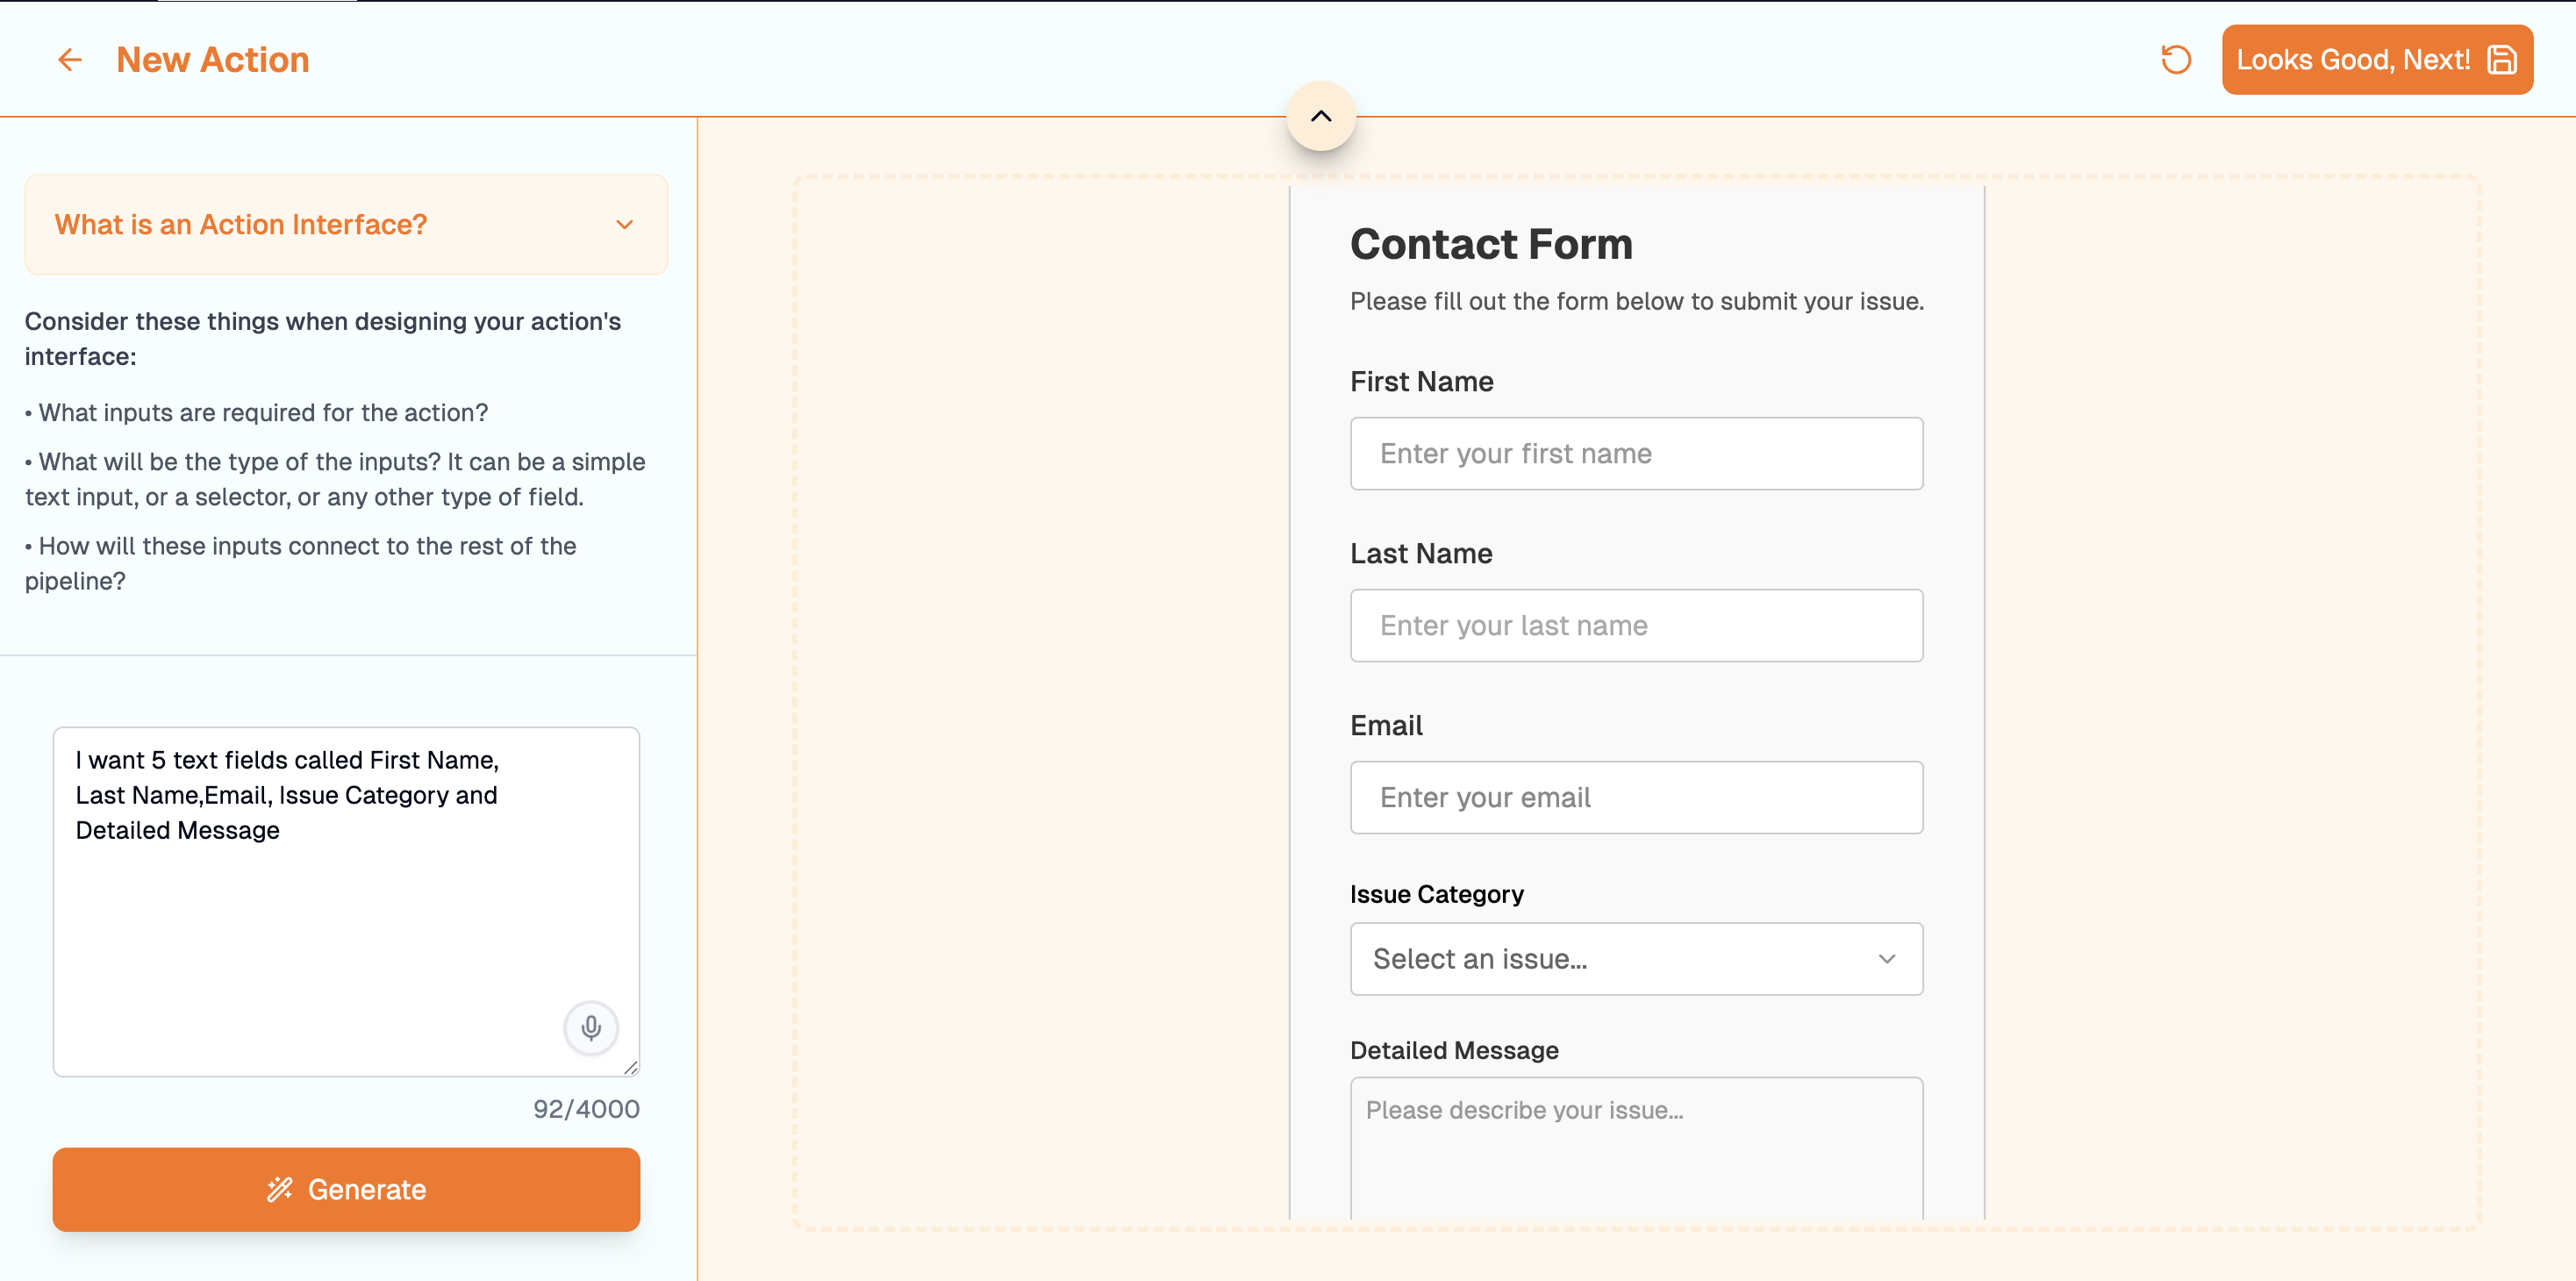
Use the textarea on the left when you already know exactly which columns you want—declare them by name—or describe the scenario in prose and lean on assisted generation. That area also derives context from your Action description, so capturing intent in the earlier name/description step sometimes saves rework. Either way, press Generate under the textarea. The canvas in the middle shows a live preview of the inbound form so you can confirm or iterate before committing.
Component builder page demo preview
Once the preview reflects what you need, choose Looks Good, Next in the top right. That pushes you straight into Action builder for the downstream nodes—the same pattern most Action types converge on. If wiring nodes feels unfamiliar yet, skim the introductory materials for Action builder after you finish this page.
Milestone Trigger Actions are similar to Form Actions, but they fire only after someone reaches the configured milestone inside a Track—not from an arbitrary webhook or UI form submission. Each run passes the member id for whoever crossed the milestone, along with contextual ids such as the track id.
What are Tracks and milestones?Head to Tracks if you still need grounding on Tracks, milestones, and how milestones trigger workflows.
Selecting Milestone Trigger Action skips the component builder—you only name/describe the Action before entering Action builder, because starter inputs (member id, relevant track id, and so forth) stay fixed. The next type available in that dialog is Button Action, which fires when someone taps configured buttons inside your surfaced experiences—the rest of your graph still lives in Action builder afterward.

Action options

You now know how to create Actions across types—next, review operational controls beyond simply running them inline. Pick any saved Action row to reveal the contextual popup—shortcuts for testing, inspecting history, opening Action builder, editing metadata, deleting, and more appear there.
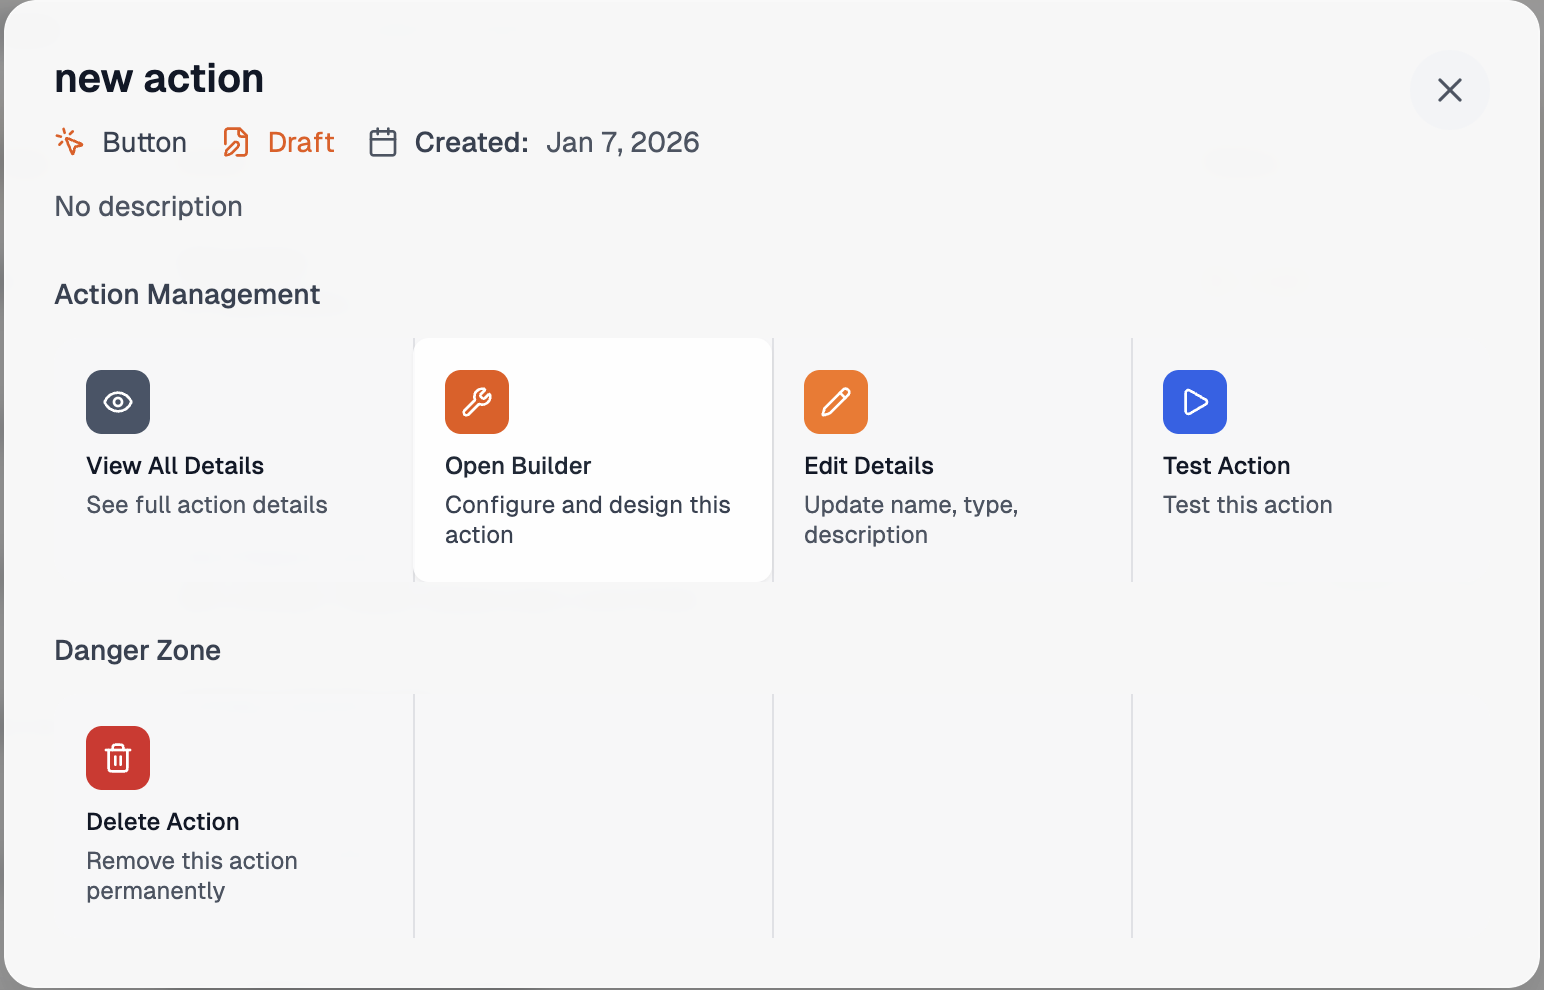
Action options popup
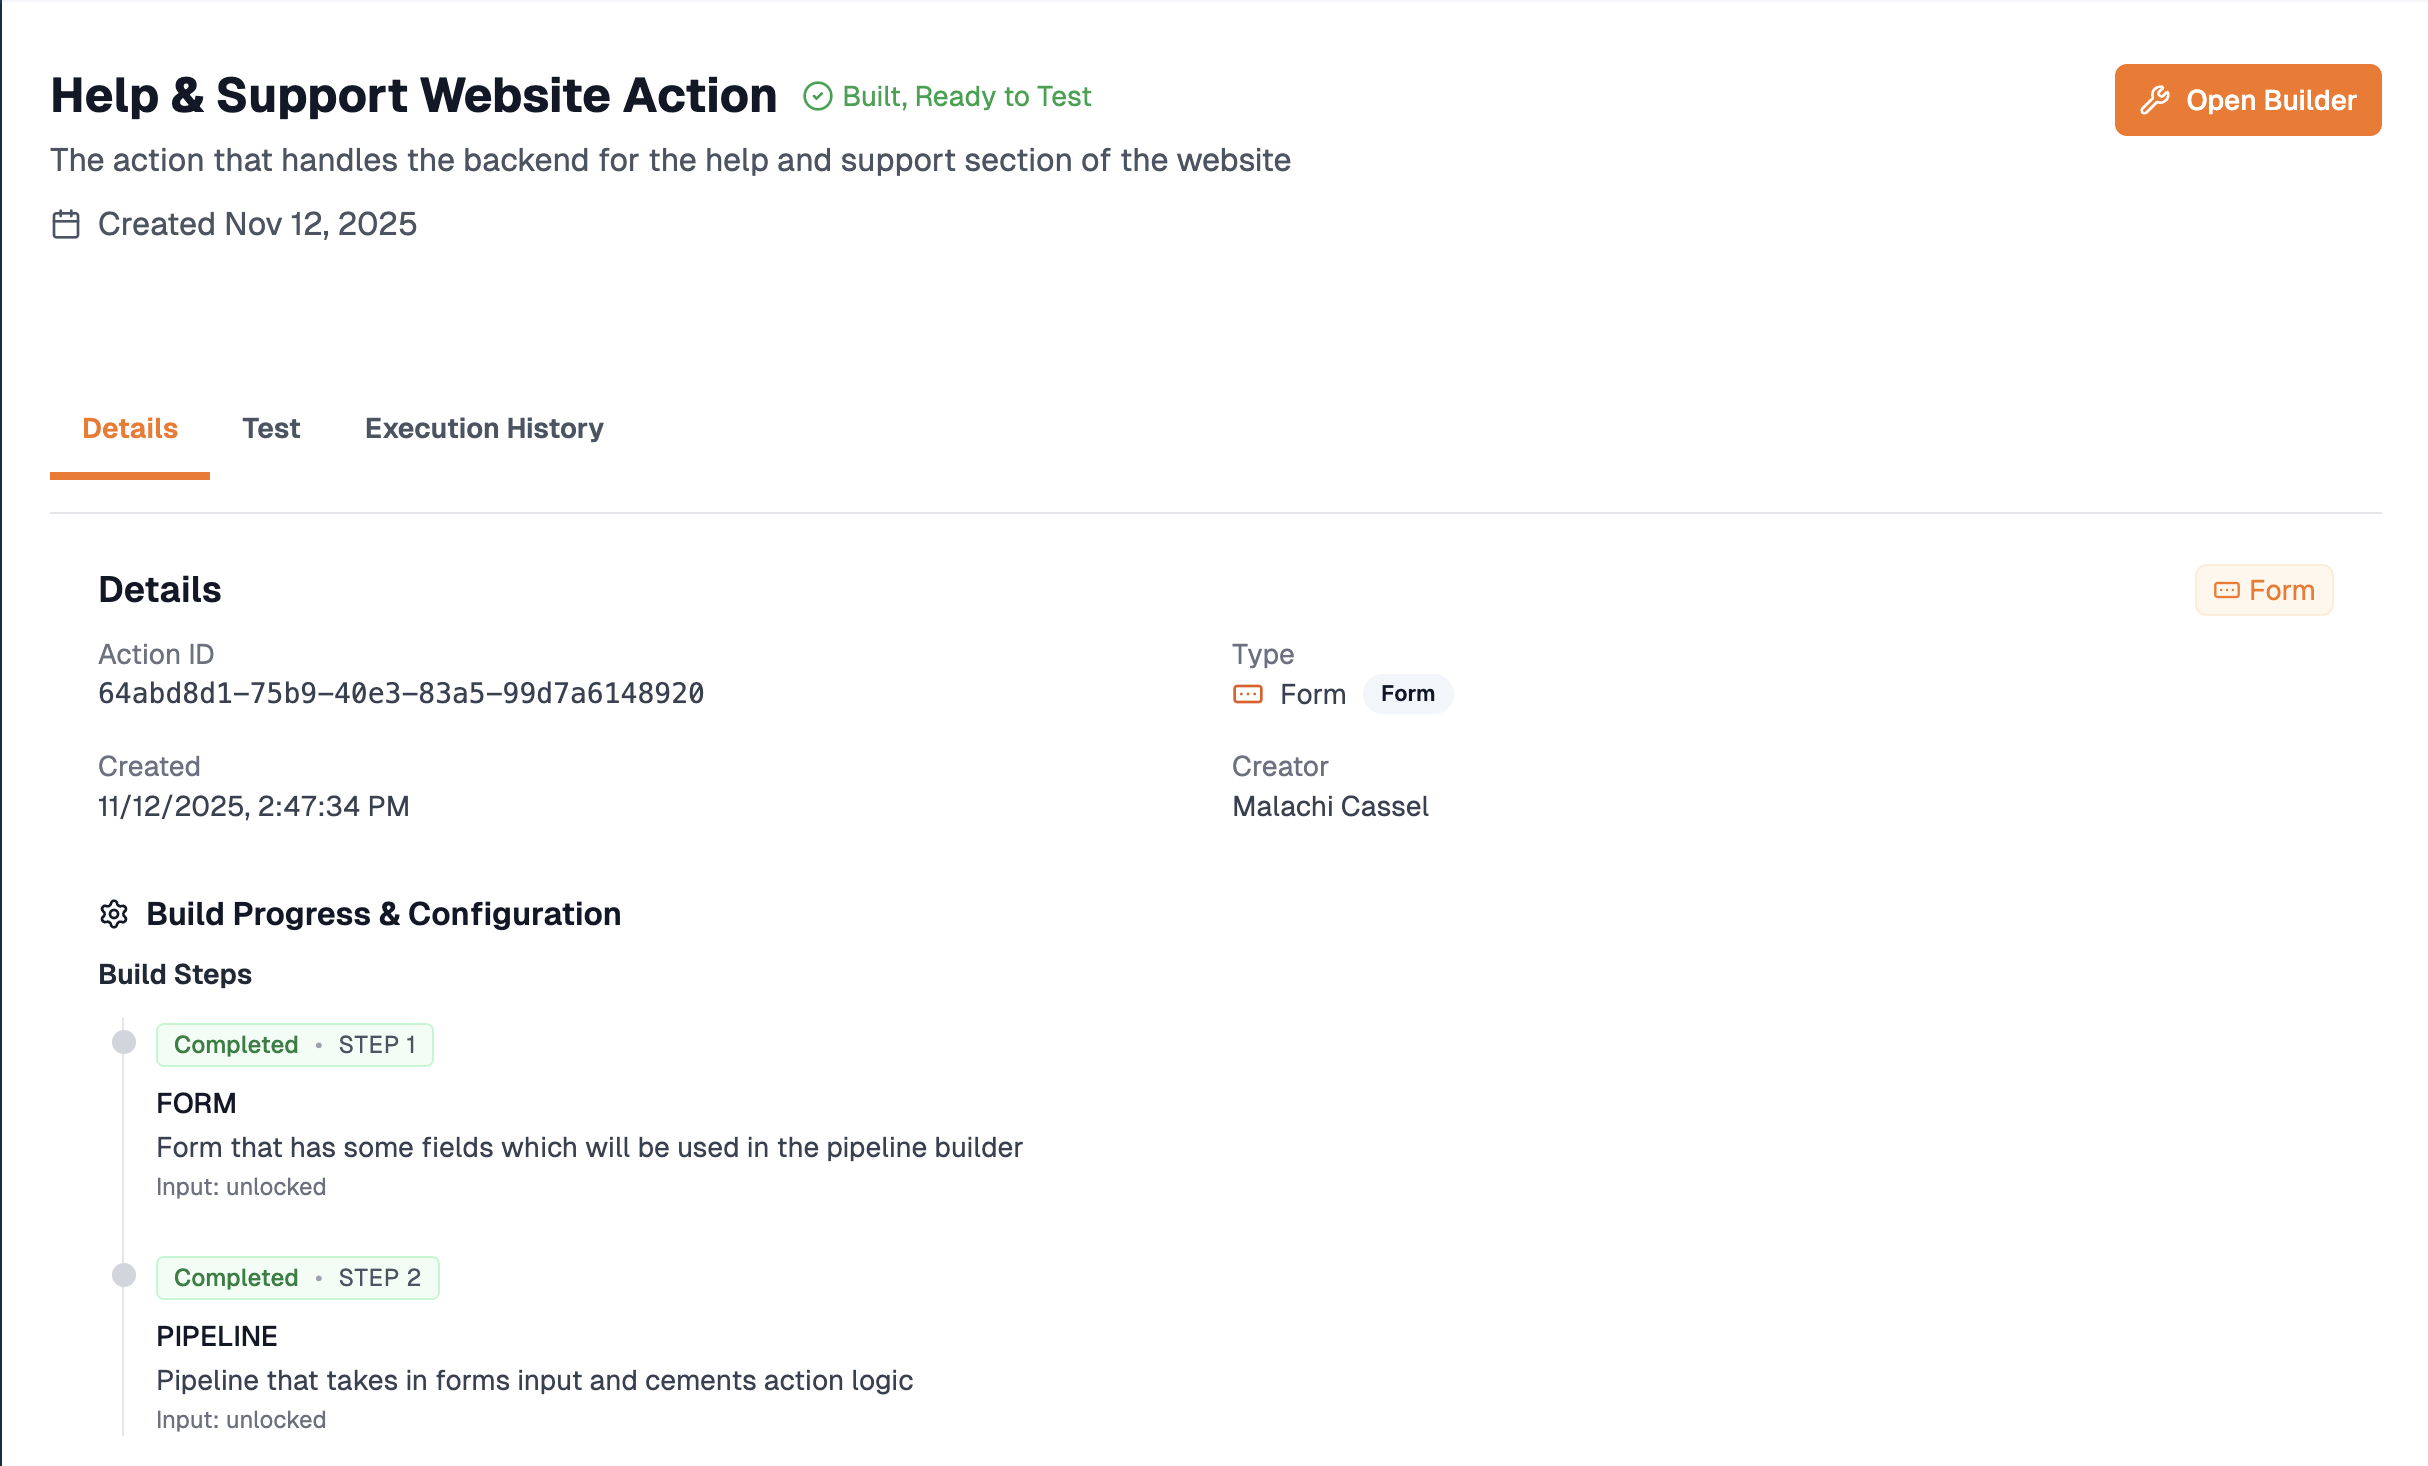
Open the far-left shortcut to open the dedicated details view.
Action details page
Everything about the Action appears here: identifiers, timestamps, owning author, coarse type, builder progress (component builder finished vs node graph edits still pending), sandbox Test, Execution history while you troubleshoot, plus a launcher in the corner that hops back into Action builder. Opening Test or Execution history from the row popup skips the excursion through details when you already know where you want to land. Returning to that popup—you can delete the Action, or choose Edit details to tweak fields that Action builder deliberately keeps read-only today (such as renaming, rewriting the description, swapping the Action archetype, or changing the starter input schema). If you would like something unique to your business or have a unique issue, use XSpada Evolve or ask a XSpada rep.