

Before you create
Have a one-sentence goal ready. If you cannot state the outcome crisply, pause and read What agents are — and aren’t — especially the six scoping questions at the end. You will need:- A name teammates will recognize (“Onboarding Coordinator,” not “Agent v3”)
- A description of what the agent should do — at least a sentence, used for overview and AI-assisted setup
Open My Agents
From the Agent Manager hub, choose My Agents. You see every agent your workspace has created, with details for whichever row is selected.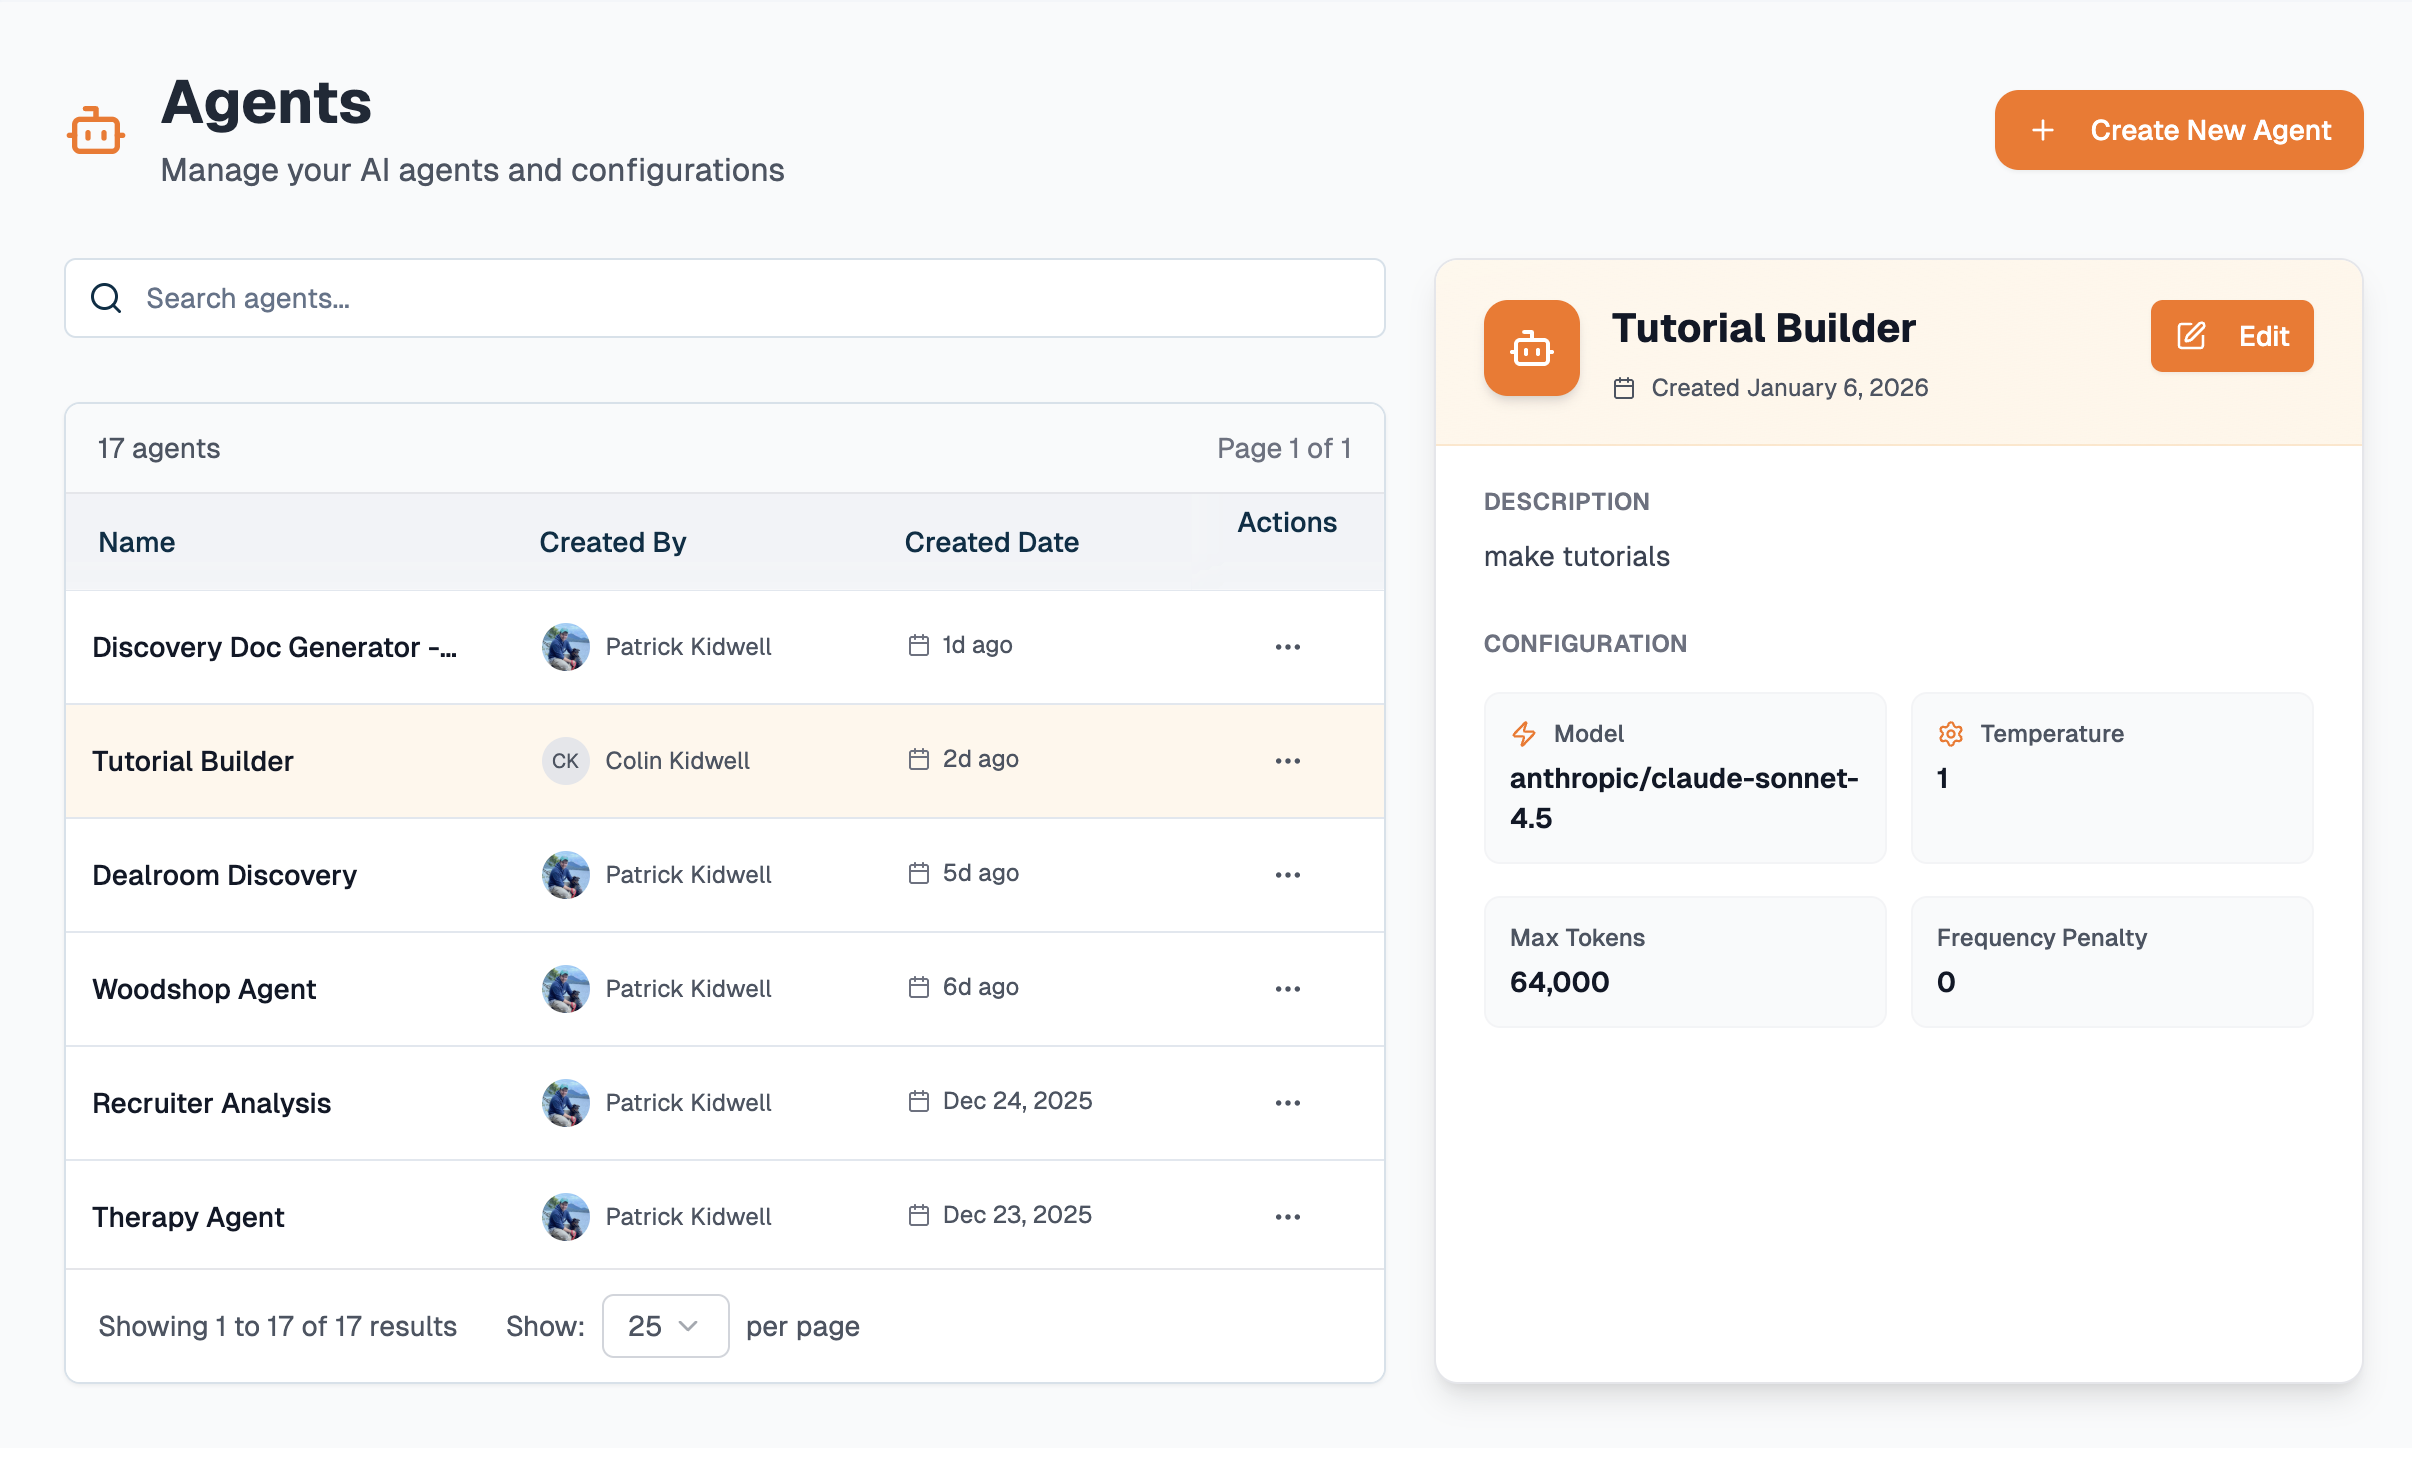
Create manually
The create dialog asks for a name and description. Be specific in the description — it becomes the starting point for the system prompt and overview.
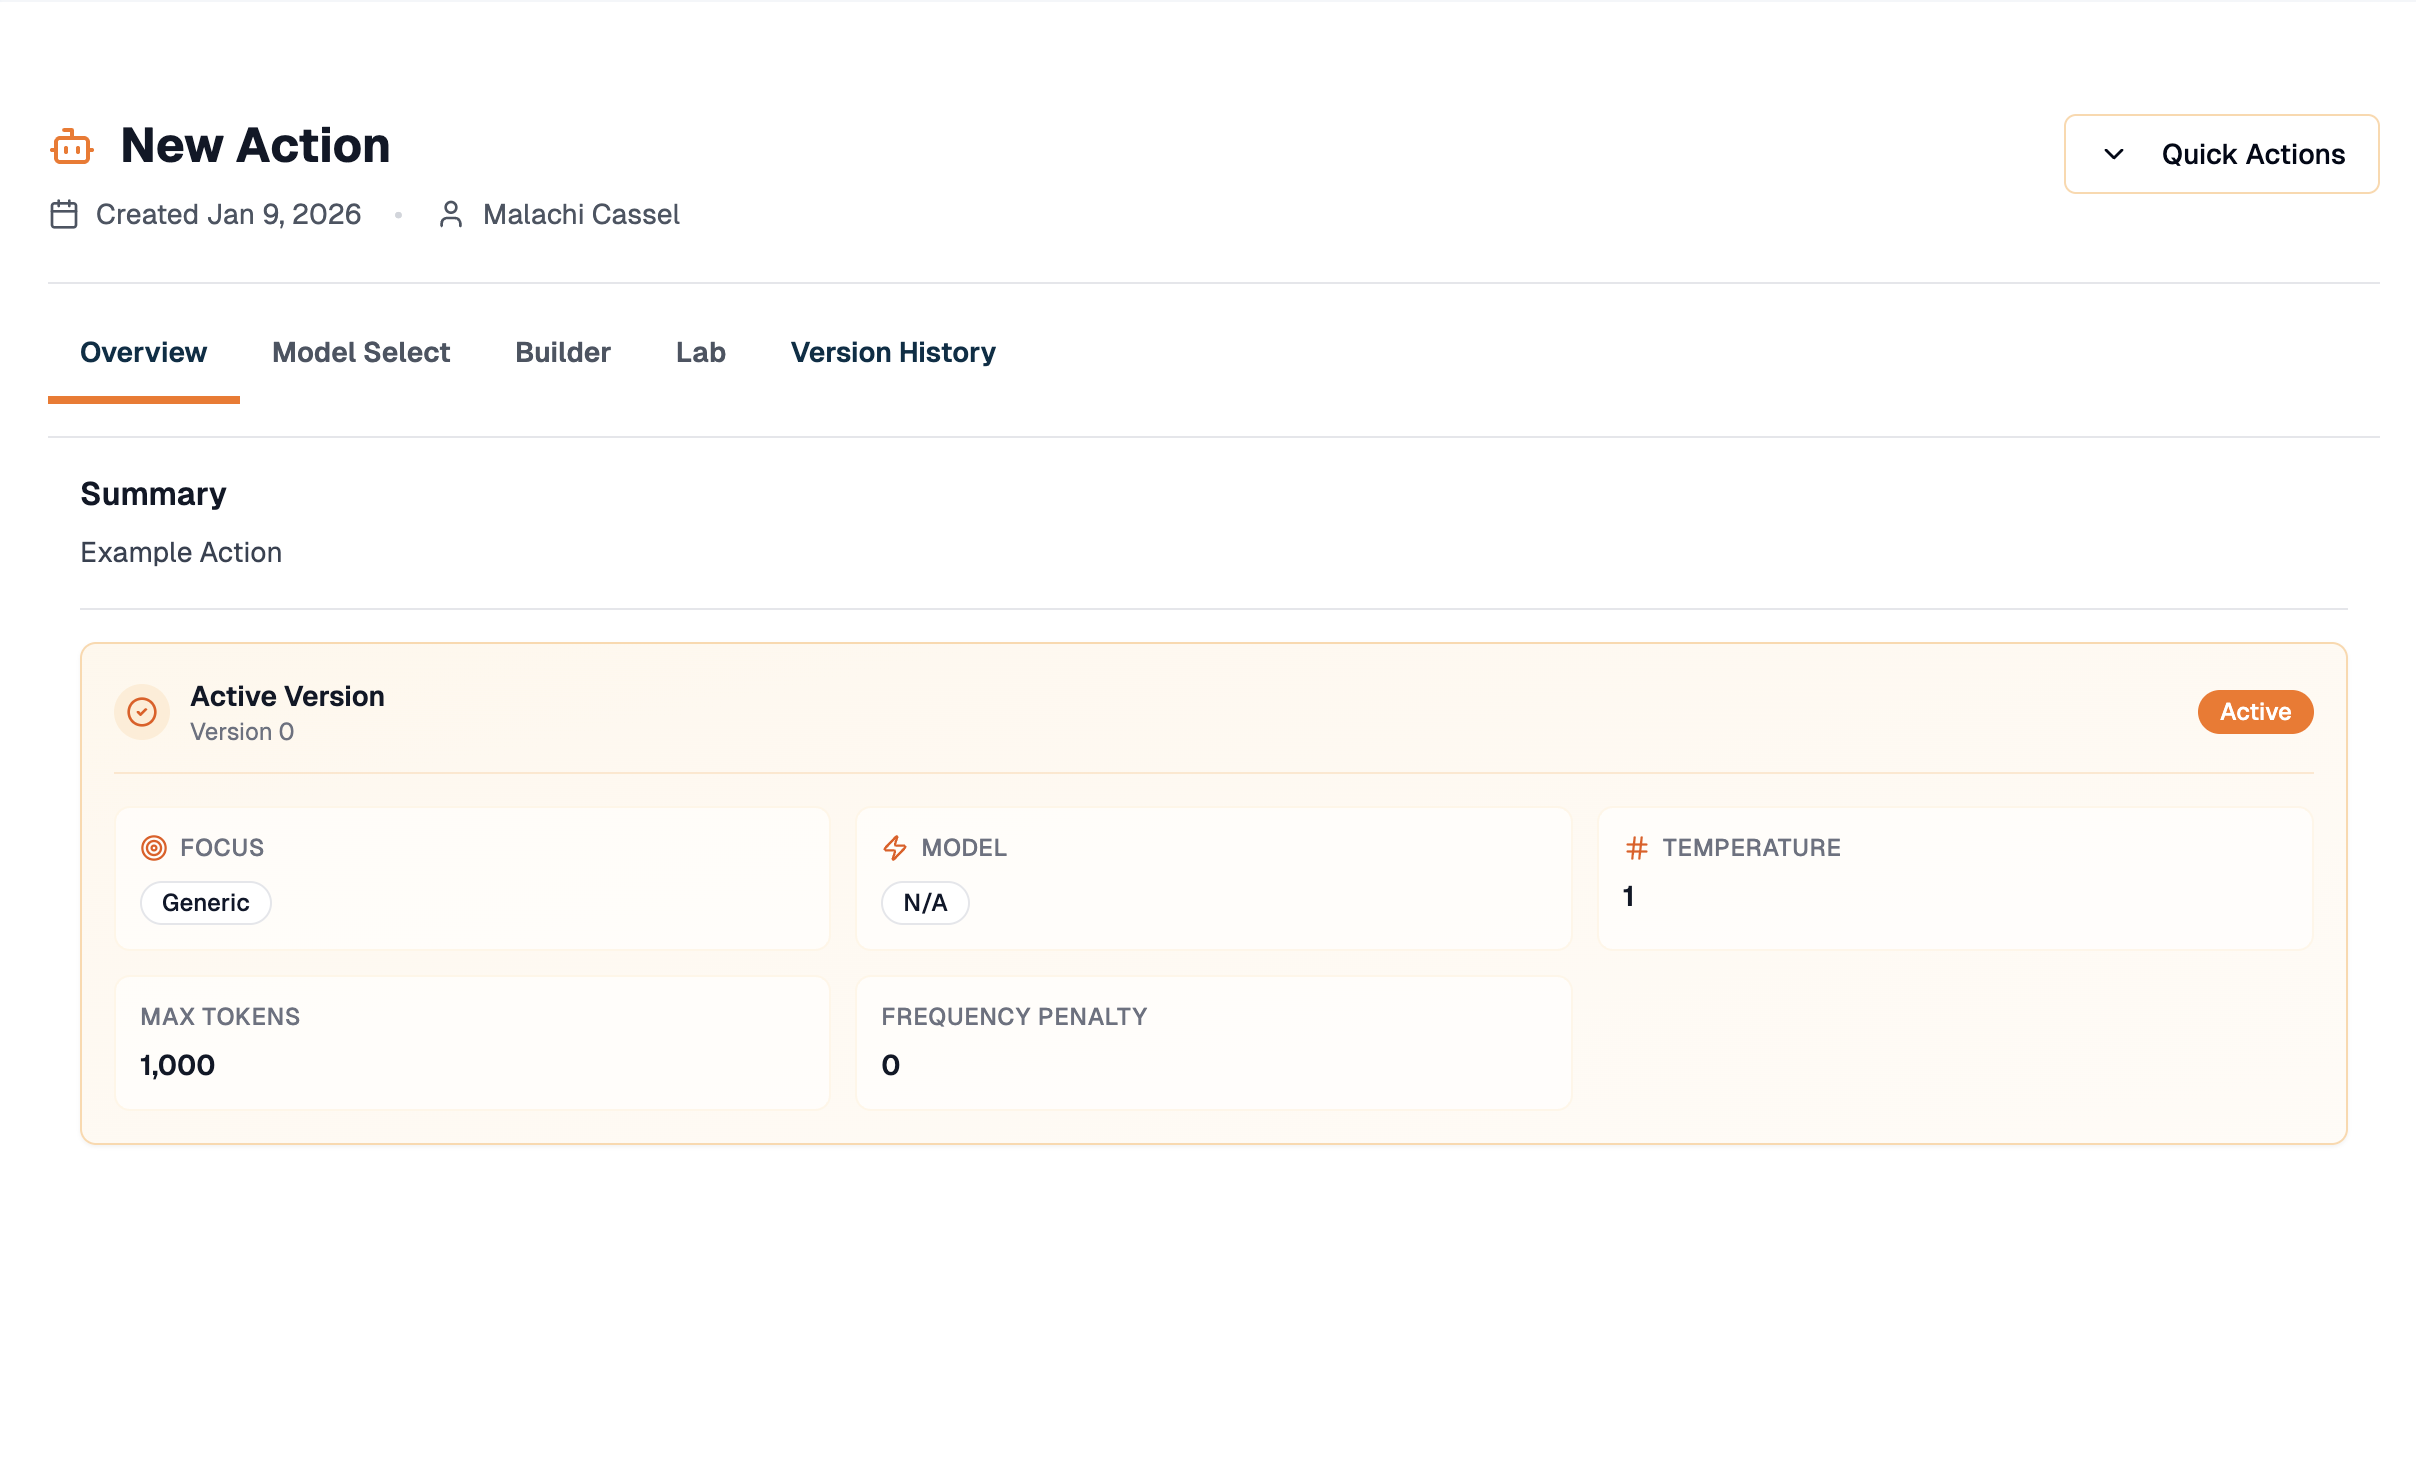
Create with AI assistance
The create dialog also offers an AI generation path. Describe what you want the agent to do in natural language — role, audience, constraints — and XSpada drafts a starting name and description (and can seed the Builder).Screenshot placeholder
Create Agent dialog on the AI generation tab. Show description textarea, optional voice input, and expandable “What is an agent?” help panel.
What to do right after creation
A sensible first-time checklist:- Model Select — pick a recommended model unless you know you need another
- Builder — refine the system prompt; add variables if the agent serves many scenarios
- Focus — assign the capability packages this job requires
- Linked Context — attach permanent reference files if needed
- Lab — run three to five realistic test prompts
- Save — creates version 1 as active when you are satisfied
Quick actions from the list
When you select an agent on the My Agents list, a popup offers shortcuts to Overview, Builder, and Lab — plus delete. Use these for fast edits without hunting tabs.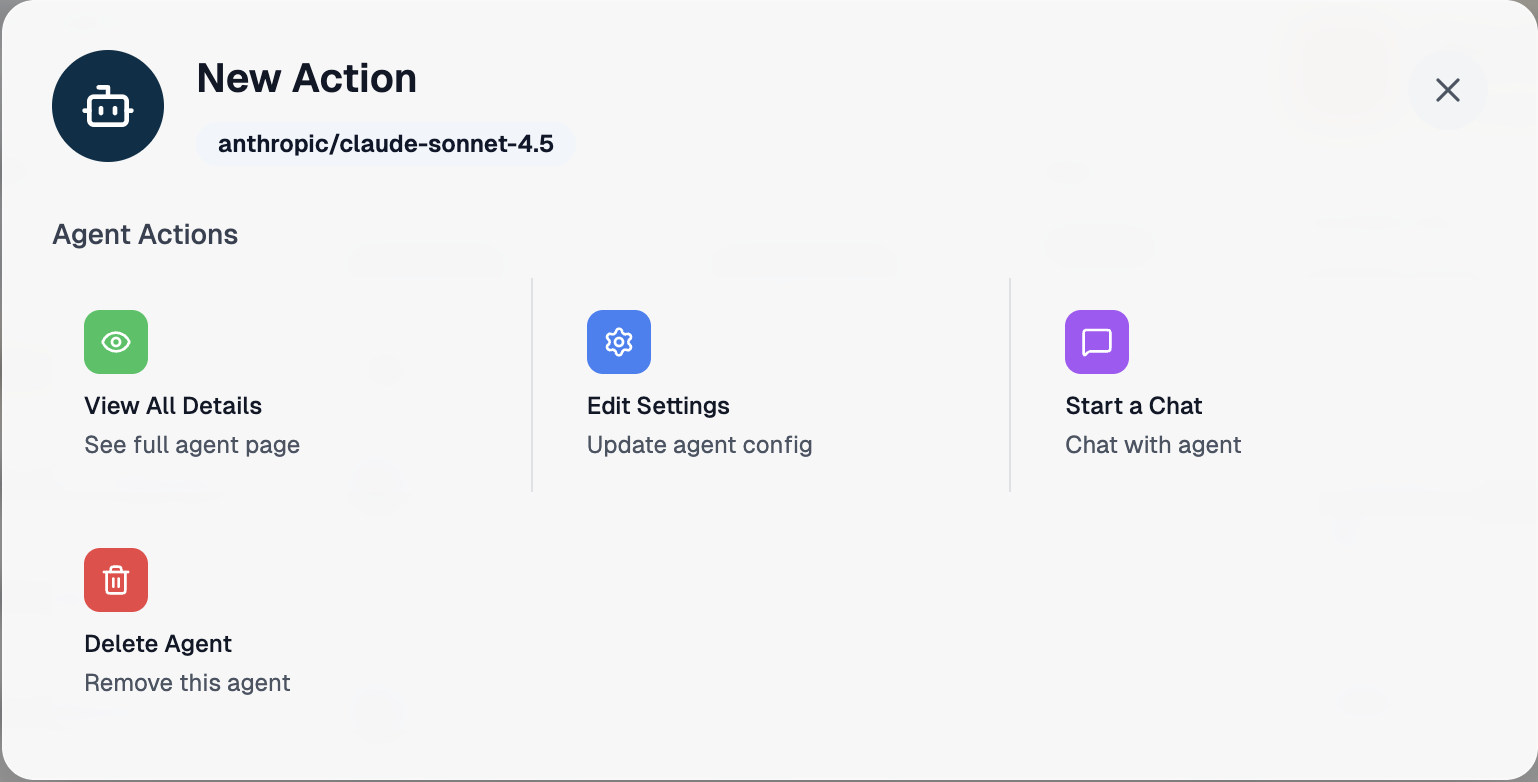
Where to go next
Configure an agent
Tab-by-tab walkthrough of the detail page.
System prompt & variables
Deep dive on instructions and placeholders.